[et_pb_section fb_built=”1″ _builder_version=”4.16″ custom_padding=”10px||8px|||” global_colors_info=”{}”][et_pb_row _builder_version=”4.16″ global_colors_info=”{}”][et_pb_column type=”4_4″ _builder_version=”4.16″ global_colors_info=”{}”][et_pb_text _builder_version=”4.16″ text_font_size=”16px” custom_padding=”||14px|||” global_colors_info=”{}”]

Today’s newborn photography tips and tutorials are for both parents and professional photographers. Topics are tips for photographing your own newborn at home with natural light (DIY).

You don’t need to have a professional camera or studio lighting. Just your cellphone and bedroom with a small window and natural light will work. This blog is created and puplished by Jana photography, Vancouver BC. 

[/et_pb_text][et_pb_video src=”https://youtu.be/MhUECINt8R0″ _builder_version=”4.16″ global_colors_info=”{}”][/et_pb_video][et_pb_text _builder_version=”4.16″ text_font_size=”16px” custom_padding=”||14px|||” global_colors_info=”{}”]

1-Find the best place at home

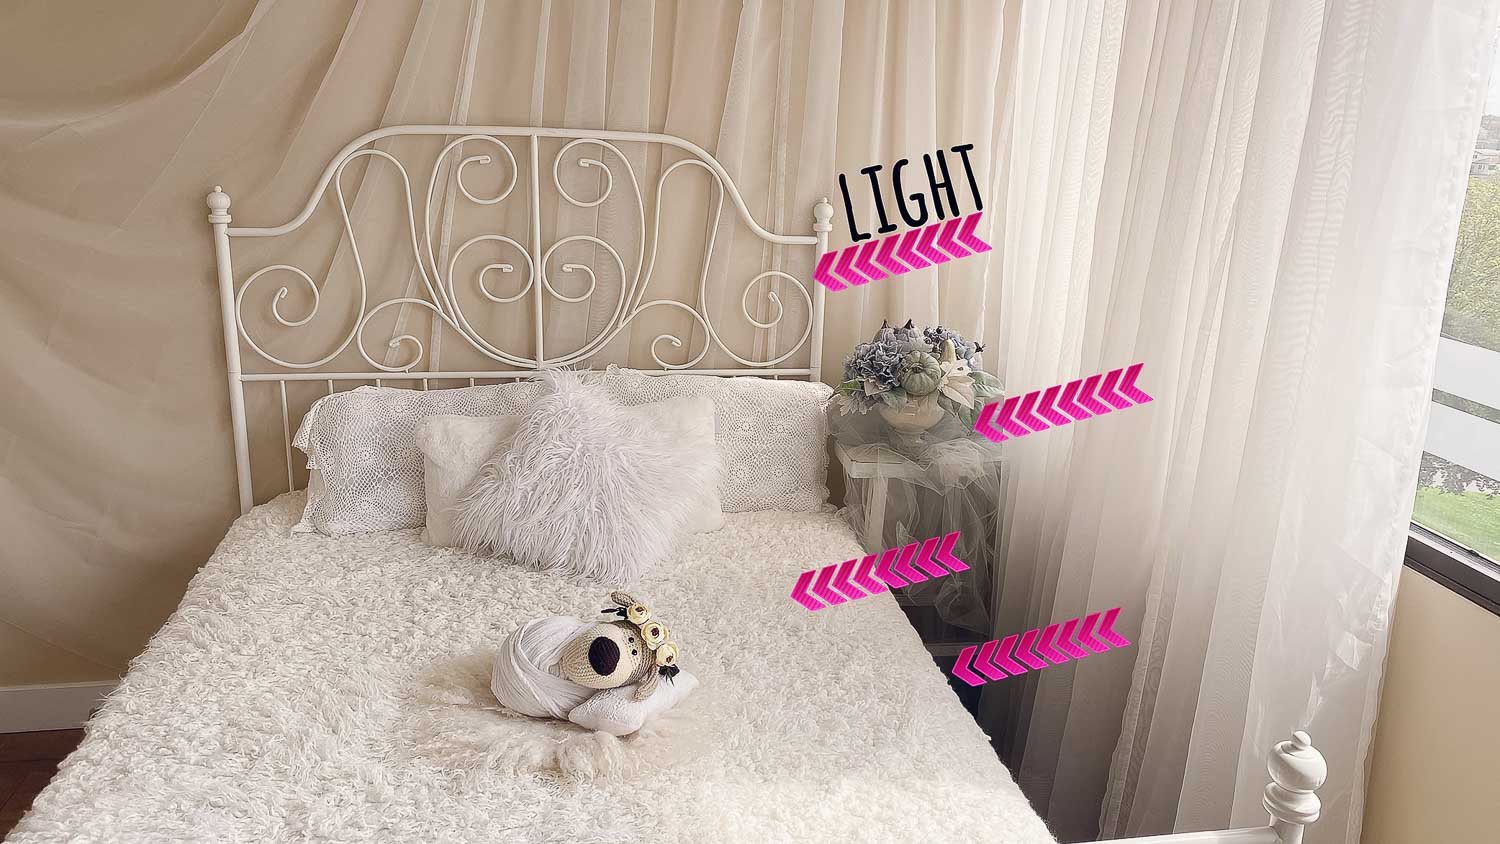
To begin with, we need a room with good natural light. Your bedroom can be a good option as a location. 

Tips

If it’s very sunny day and you have a sharp light , you can defuse it with some fabrics or curtains. This will help you to balance the exposure and have less contrast on baby’s face. 
[/et_pb_text][et_pb_image src=”https://janaphotography.ca/wp-content/uploads/2020/04/light-angel.jpg” alt=”maternity photography – natural light ” _builder_version=”4.16″ global_colors_info=”{}”][/et_pb_image][et_pb_text _builder_version=”4.16″ text_font_size=”16px” custom_padding=”||14px|||” global_colors_info=”{}”]

2- Prepare some props

[/et_pb_text][/et_pb_column][/et_pb_row][/et_pb_section][et_pb_section fb_built=”1″ _builder_version=”4.16″ background_image=”https://janaphotography.ca/wp-content/uploads/2020/04/newborn-photography-bedroom-home-natural-light-1.jpg” parallax=”on” parallax_method=”off” min_height=”703px” custom_margin=”1px|||||” locked=”off” global_colors_info=”{}”][et_pb_row _builder_version=”4.16″ custom_margin=”|auto|242px|auto||” custom_padding=”0px|||||” global_colors_info=”{}”][et_pb_column type=”4_4″ _builder_version=”4.16″ global_colors_info=”{}”][et_pb_text _builder_version=”4.16″ text_font=”||||||||” text_text_color=”#e02b20″ text_font_size=”30px” header_3_font=”Stay classy||||||||” header_3_text_align=”center” header_3_text_color=”#ffffff” header_3_font_size=”4vw” background_enable_image=”off” custom_margin=”||-20px|||” custom_padding=”197px|||||” header_3_font_size_tablet=”60px” header_3_font_size_phone=”80px” header_3_font_size_last_edited=”on|phone” locked=”off” global_colors_info=”{}”]

newborn baby boy with dog – natural light

[/et_pb_text][/et_pb_column][/et_pb_row][/et_pb_section][et_pb_section fb_built=”1″ _builder_version=”4.16″ custom_padding=”||5px|||” global_colors_info=”{}”][et_pb_row _builder_version=”4.16″ global_colors_info=”{}”][et_pb_column type=”4_4″ _builder_version=”4.16″ global_colors_info=”{}”][et_pb_text _builder_version=”4.16″ text_font_size=”16px” custom_margin=”-4px|||||” custom_padding=”||1px|||” locked=”off” global_colors_info=”{}”]

3- Learn some wrapping technic

Now it’s time to wrap the baby. First, cross the baby’s hand and legs gently and covering them with the shorter side of the fabric. Now cover the baby’s other hand with the other side of the fabric and continue wrapping.
Simple swaddling would be great if you are more comfortable with it.

[/et_pb_text][et_pb_text _builder_version=”4.16″ text_font_size=”16px” custom_margin=”-4px|||||” custom_padding=”||1px|||” locked=”off” global_colors_info=”{}”]

4- Pose your newborn baby safely

Add the towels underneath your fur or mid-layer. A couple of for head and some foe back support.
You can adjust the pillow and towel to get the most comfortable and safe position for your newborn.  

Now it’s time to add more props like a cute headband or hat.

[/et_pb_text][/et_pb_column][/et_pb_row][et_pb_row _builder_version=”4.16″ custom_padding=”6px||7px|||” global_colors_info=”{}”][et_pb_column type=”4_4″ _builder_version=”4.16″ global_colors_info=”{}”][et_pb_text _builder_version=”4.16″ text_font_size=”16px” custom_padding=”||14px|||” global_colors_info=”{}”]

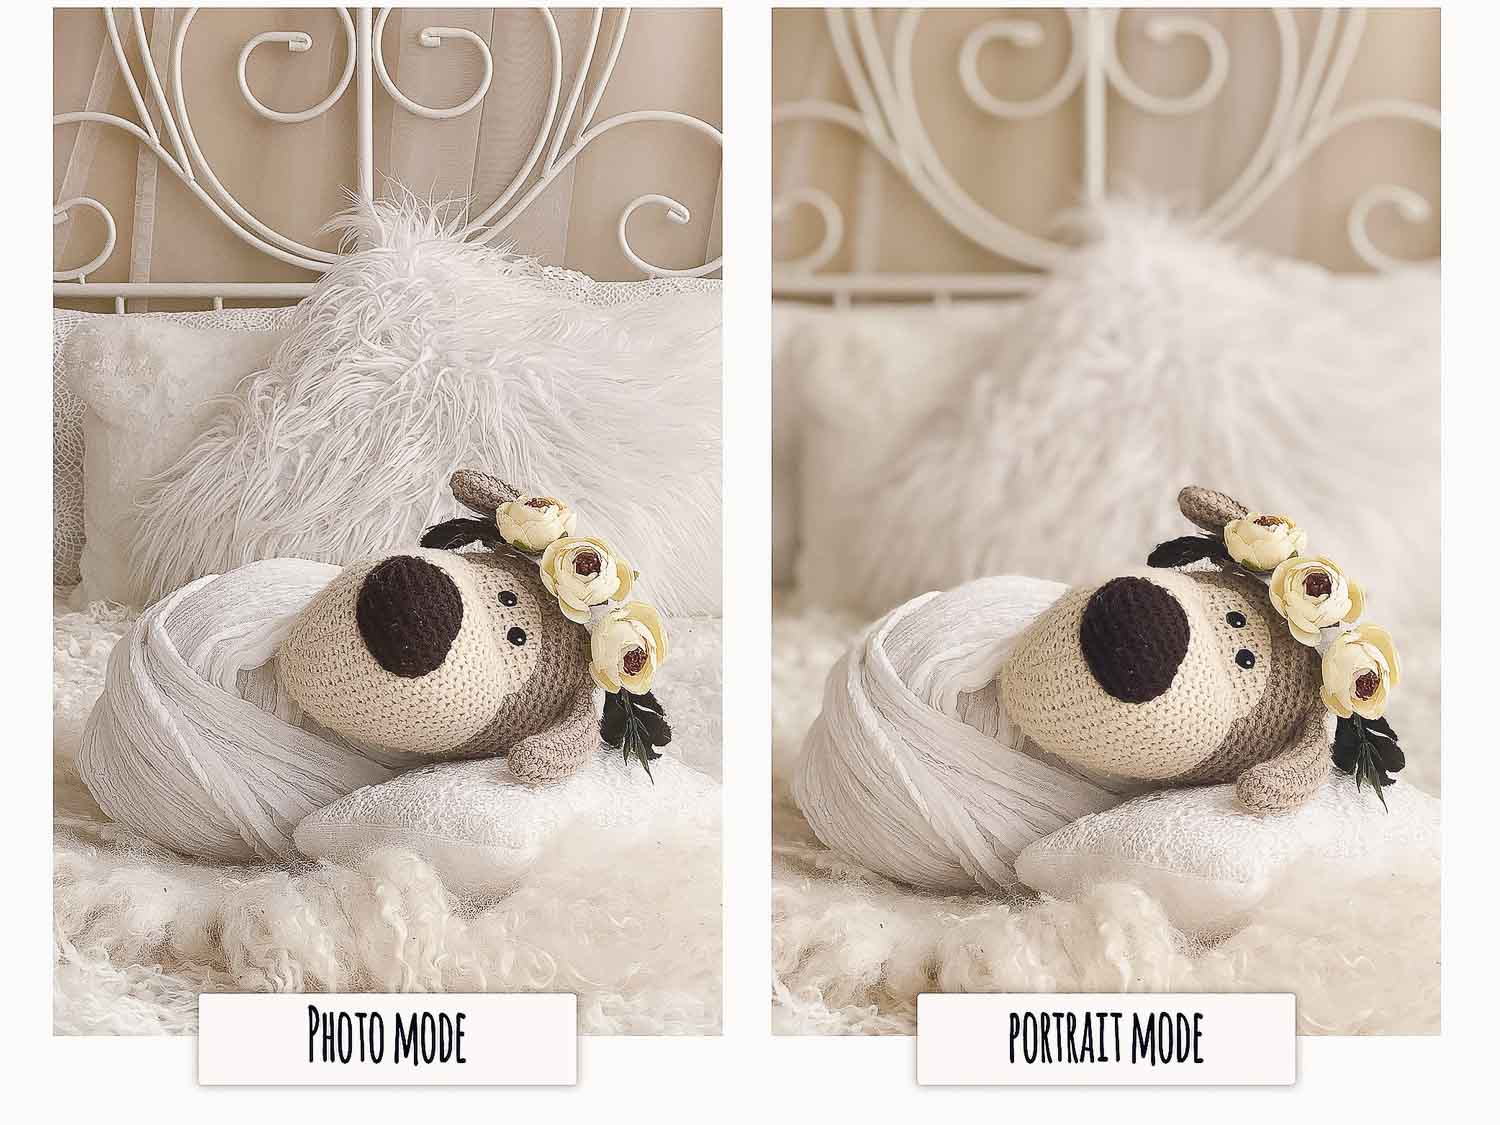
Photo or portrait mode

If your phone is an older version and doesn’t have the portrait, you can choose photo mode to create a similar feeling with the maximum zoom. 

[/et_pb_text][et_pb_image src=”https://janaphotography.ca/wp-content/uploads/2020/04/tips-newborn-photography-at-home-dy.jpg” alt=”tips for newborn photography at home – portrait and photo mode ” show_in_lightbox=”on” _builder_version=”4.16″ global_colors_info=”{}”][/et_pb_image][/et_pb_column][/et_pb_row][et_pb_row _builder_version=”4.16″ locked=”off” global_colors_info=”{}”][et_pb_column type=”4_4″ _builder_version=”4.16″ global_colors_info=”{}”][et_pb_text _builder_version=”4.16″ text_font_size=”16px” custom_margin=”-4px|||||” custom_padding=”||1px|||” locked=”off” global_colors_info=”{}”]

5- Camera and light angel

The most important key in photography is the angel of light and camera. As you see in the picture, the light is coming through the window on the side. The best angel to shoot is from the front. Have a baby’s body and face in the major part of your frame and show just a little bit of the background. 

Don’t shoot from under the chin.

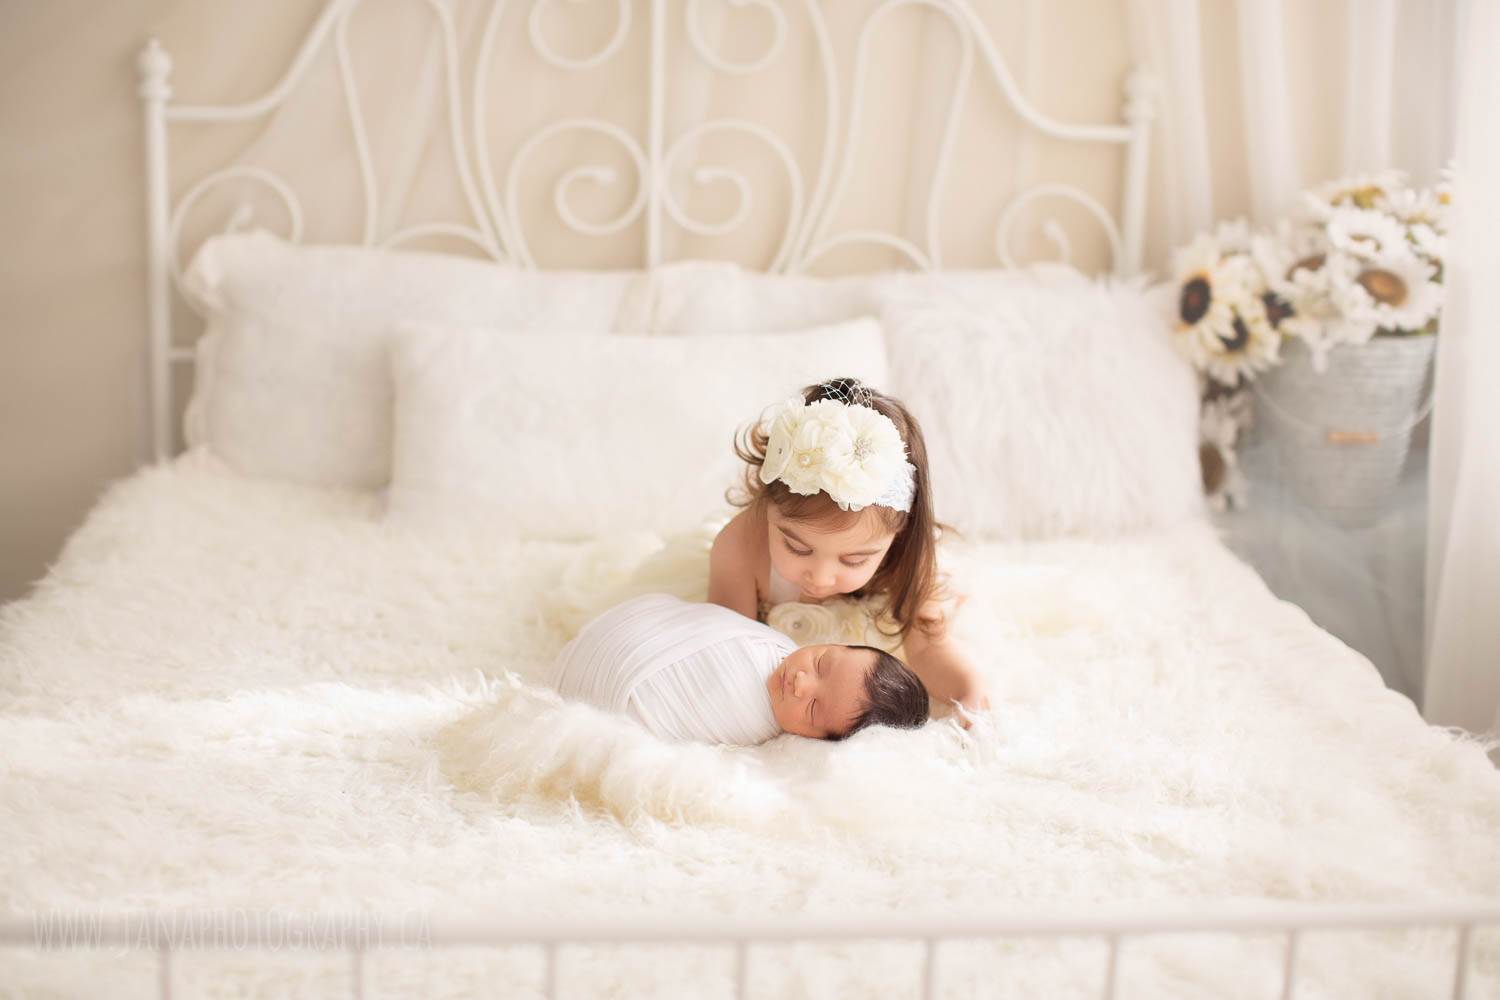
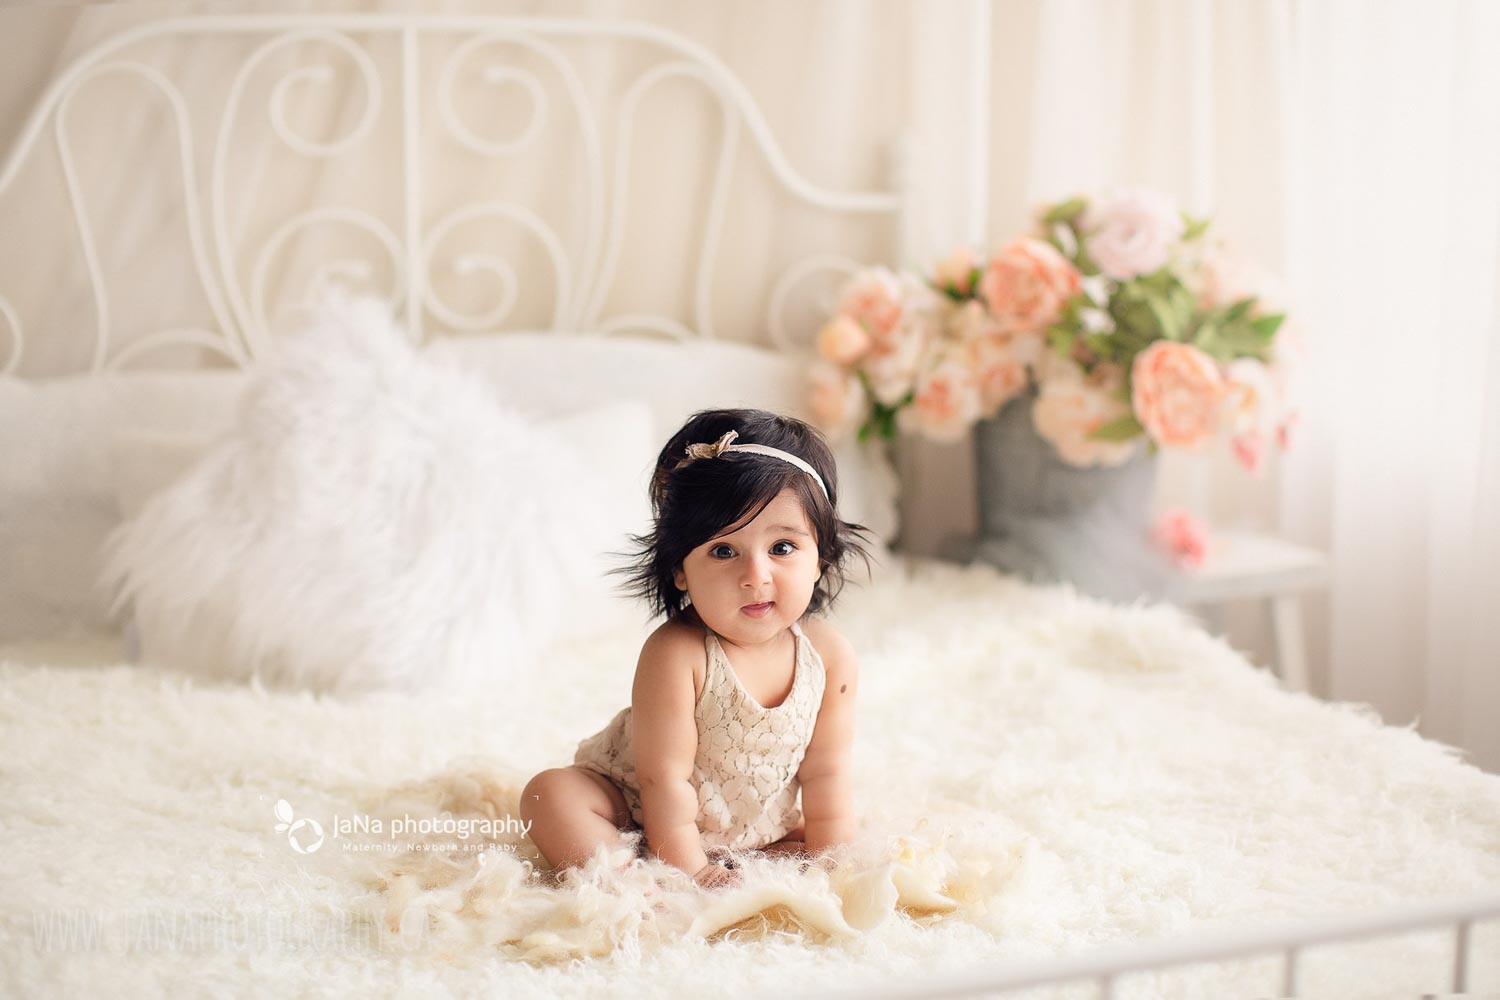
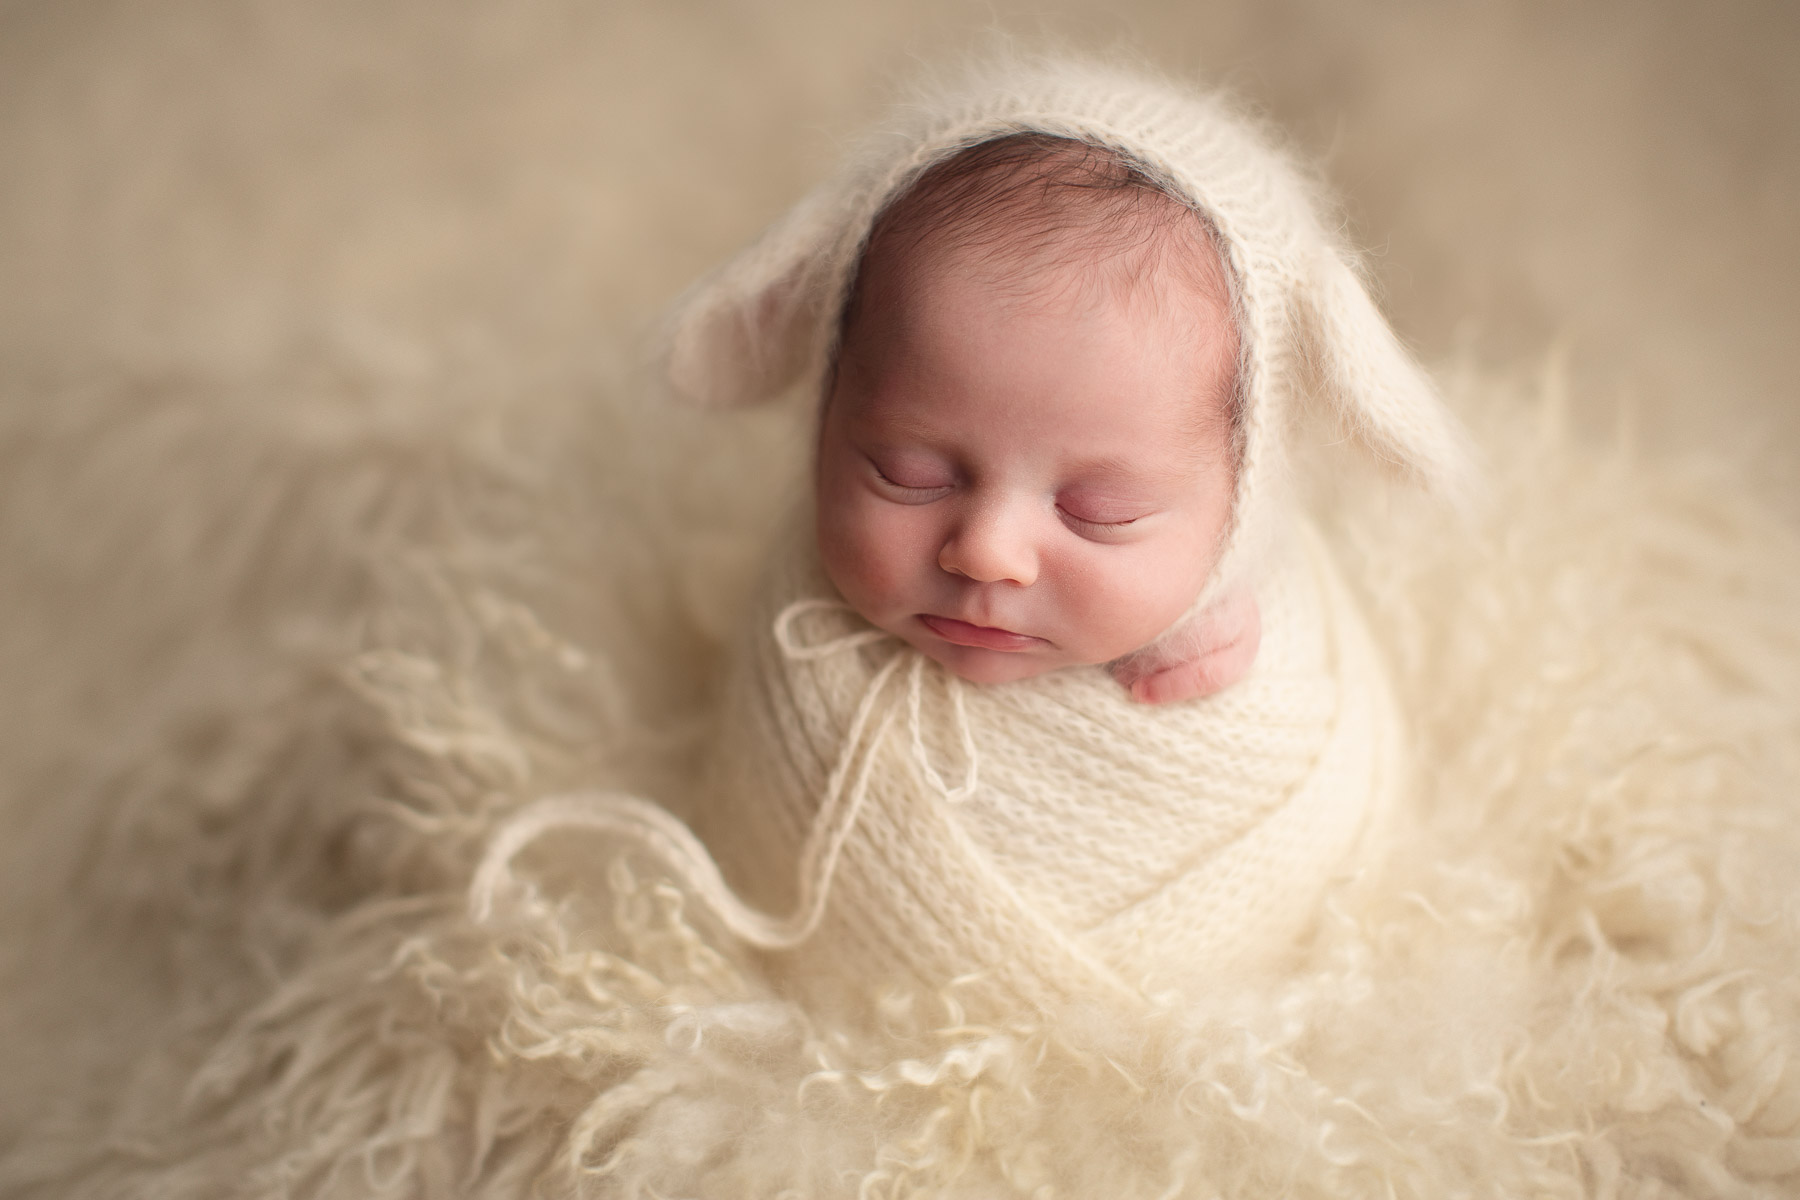
Let’s see more sample of our maternity, baby and newborn photography in the same room and same lighting. 

[/et_pb_text][/et_pb_column][/et_pb_row][et_pb_row _builder_version=”4.16″ global_colors_info=”{}”][et_pb_column type=”4_4″ _builder_version=”4.16″ global_colors_info=”{}”][et_pb_image src=”https://janaphotography.ca/wp-content/uploads/2020/04/newborn-photography-at-home-natural-light7.jpg” alt=”newborn baby boy with dog – natural light – white bedroom” show_in_lightbox=”on” _builder_version=”4.16″ global_colors_info=”{}”][/et_pb_image][et_pb_image src=”https://janaphotography.ca/wp-content/uploads/2020/04/newborn-photography-at-home-natural-light1.jpg” alt=”newborn baby boy smiling – natural light ” show_in_lightbox=”on” _builder_version=”4.16″ global_colors_info=”{}”][/et_pb_image][et_pb_image src=”https://janaphotography.ca/wp-content/uploads/2020/04/sibling-newborn-photography-at-home-natural-light8.jpg” alt=”Tips for photographing your own newborn at home with natural light (DIY)” show_in_lightbox=”on” _builder_version=”4.16″ global_colors_info=”{}”][/et_pb_image][/et_pb_column][/et_pb_row][et_pb_row column_structure=”1_2,1_2″ use_custom_gutter=”on” gutter_width=”2″ _builder_version=”4.16″ custom_padding=”24px|||||” locked=”off” global_colors_info=”{}”][et_pb_column type=”1_2″ _builder_version=”4.16″ global_colors_info=”{}”][et_pb_image src=”https://janaphotography.ca/wp-content/uploads/2020/04/baby-girl-photography-at-home-natural-light4.jpg” alt=”baby photography in natural light ” show_in_lightbox=”on” _builder_version=”4.16″ box_shadow_style=”preset3″ global_colors_info=”{}”][/et_pb_image][/et_pb_column][et_pb_column type=”1_2″ _builder_version=”4.16″ global_colors_info=”{}”][et_pb_image src=”https://janaphotography.ca/wp-content/uploads/2020/04/baby-photography-at-home-natural-light6.jpg” alt=”baby photography – girl – bedroom – natural light” show_in_lightbox=”on” _builder_version=”4.16″ global_colors_info=”{}”][/et_pb_image][/et_pb_column][/et_pb_row][et_pb_row column_structure=”1_2,1_2″ use_custom_gutter=”on” gutter_width=”2″ _builder_version=”4.16″ custom_padding=”24px|||||” locked=”off” global_colors_info=”{}”][et_pb_column type=”1_2″ _builder_version=”4.16″ global_colors_info=”{}”][et_pb_image src=”https://janaphotography.ca/wp-content/uploads/2020/04/sibling-photography-at-home-natural-light5.jpg” alt=”sibling and newborn photography at home – natural light” show_in_lightbox=”on” _builder_version=”4.16″ box_shadow_style=”preset3″ global_colors_info=”{}”][/et_pb_image][/et_pb_column][et_pb_column type=”1_2″ _builder_version=”4.16″ global_colors_info=”{}”][et_pb_image src=”https://janaphotography.ca/wp-content/uploads/2020/04/maternity-photography-at-home-natural-light3.jpg” alt=”maternity photography – natural light ” show_in_lightbox=”on” _builder_version=”4.16″ global_colors_info=”{}”][/et_pb_image][/et_pb_column][/et_pb_row][/et_pb_section][et_pb_section fb_built=”1″ _builder_version=”4.16″ custom_padding=”5px||5px|||” locked=”off” global_colors_info=”{}”][et_pb_row _builder_version=”4.16″ custom_margin=”-16px|auto||auto||” global_colors_info=”{}”][et_pb_column type=”4_4″ _builder_version=”4.16″ global_colors_info=”{}”][et_pb_divider _builder_version=”4.16″ global_colors_info=”{}”][/et_pb_divider][et_pb_text _builder_version=”4.16″ header_2_font=”amatics||||||||” header_2_font_size=”40px” global_colors_info=”{}”]

More from our blogs

[/et_pb_text][et_pb_blog fullwidth=”off” posts_number=”6″ include_categories=”4″ _builder_version=”4.16″ global_colors_info=”{}”][/et_pb_blog][/et_pb_column][/et_pb_row][/et_pb_section]

Leave a Reply

Your email address will not be published. Required fields are marked *

Contact Us