This is a blog about how to make newborn photography airplane props from scratch.
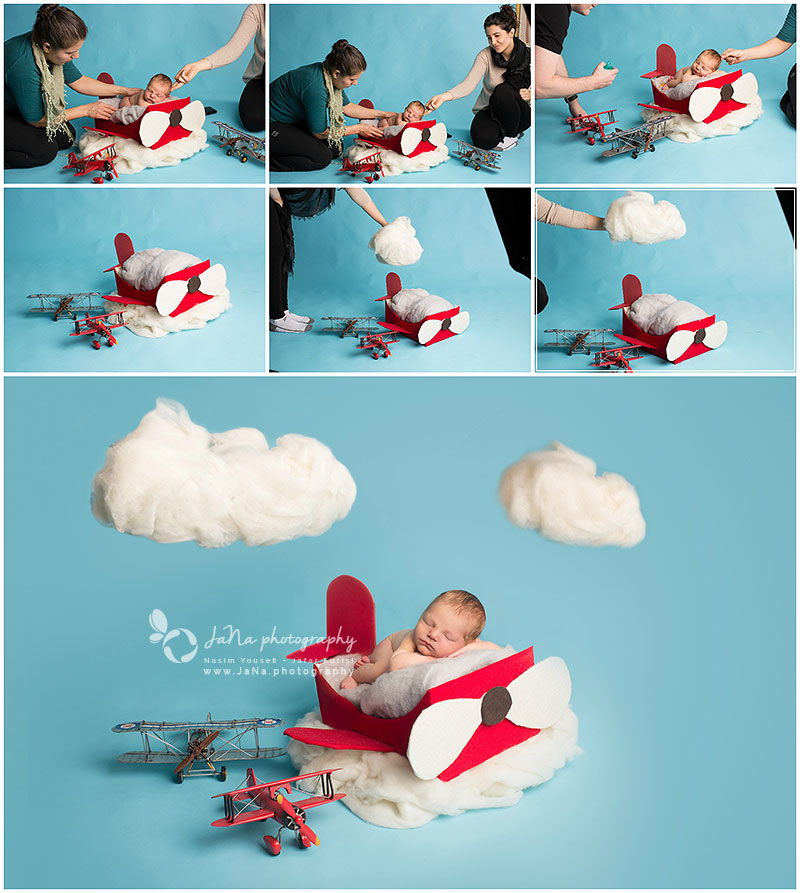
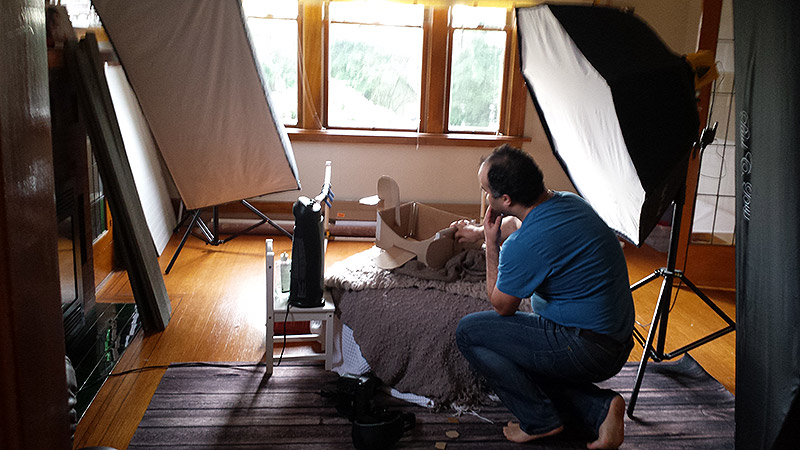
As a newborn photographer I’m always on the lookout for new ideas for photoshoots, a request from one of our loyal clients got my creative juices flowing. The dad mentioned his love for airplanes and even brought along two toy planes. While we waited for the session to start, I thought, why not make an airplane-shaped prop instead of the usual box or bucket?
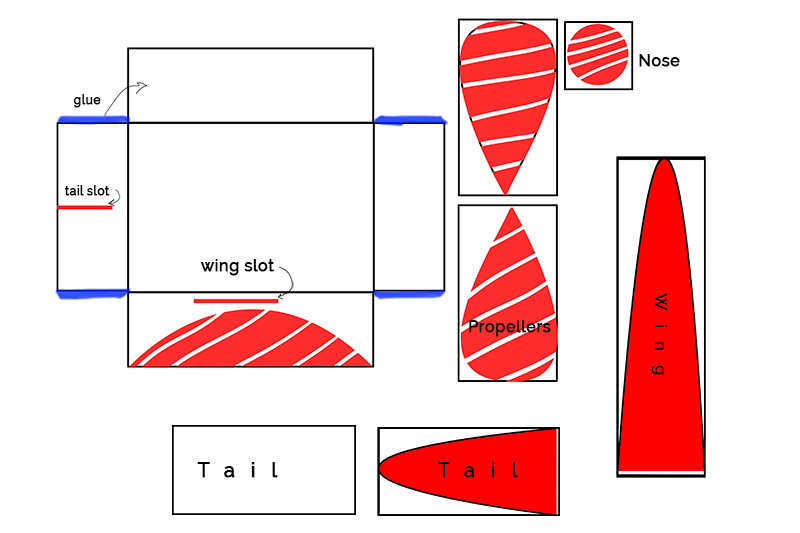

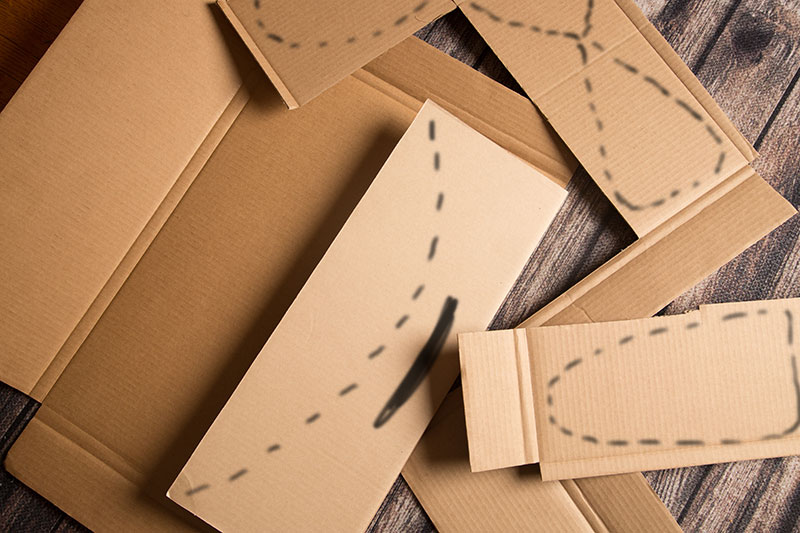

With time limited, we quickly gathered some cardboard, a pen, a ruler, and paint or felt fabric for covering.
Here’s how we did it:
- Draw the outline of a propeller, wings, and tail on the cardboard.
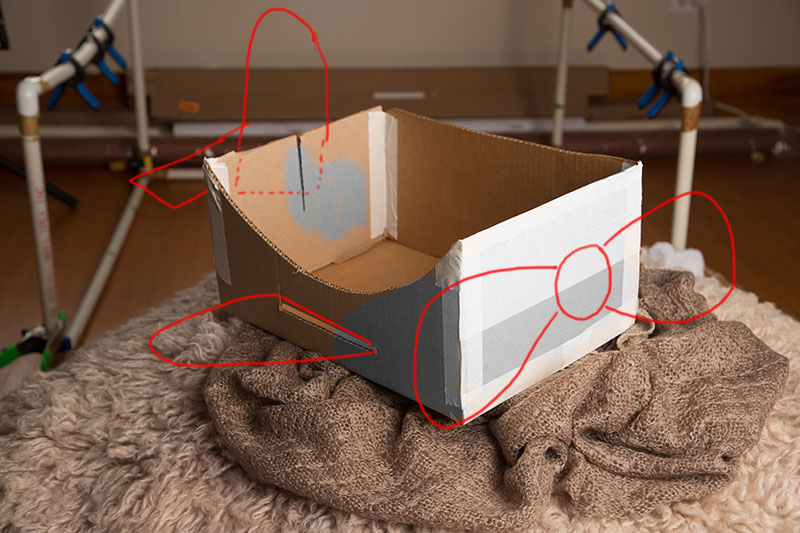
- Construct a box using the cardboard, or modify an existing box by removing curved sections from two sides to resemble the shape of an airplane. This way, when posing the newborn, their body will fit into the structure.
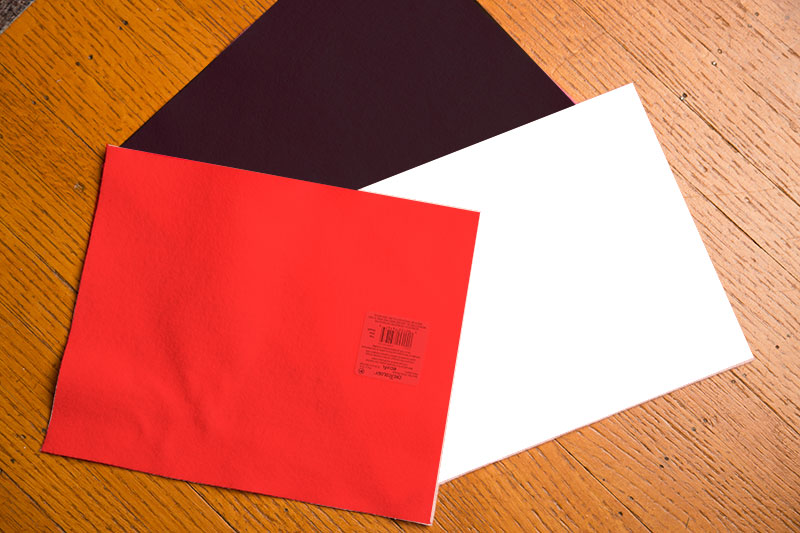
- Paint the cardboard or cover it with felt. We opted for white and red felt to mimic a classic airplane design, ensuring the cardboard remains sturdy.
- Attach the propeller, wings, and tail to the box using glue.
- As with any other prop, create a comfortable space for the newborn using beans, pillows, and soft fabrics.
In just a few simple steps, we transformed basic materials into a unique and charming prop that perfectly suited our client’s wishes.




Vancouver, Surrey, Burnaby BC
follow us on our Instagram page to see our latest portfolio.
Jana Photography is one of the best maternity and newborn photographers in Vancouver BC. Serving Vancouver, Burnaby, Surrey, and North Vancouver.
newborn photography airplane props
More from our blogs
Family photography in Vancouver
Recently, a lovely family came to us for their family photography in Vancouver. This is the third time that we have visited them: two newborn photography sessions and one maternity photoshoot when our location was in Burnaby.This is exactly what happened when this...
Affordable newborn photography package
Welcome to Jana Photography where we offer an affordable newborn photography package. We are a professional five-star boutique studio in Vancouver specialize in premium quality newborn photography portraits. Recently we have added a new service in our newborn...
Tips for Parents on Including Siblings in Newborn Photography
first of all Tips for Parents on Including Siblings in Newborn Photography Sessions and Choosing the Best Photographer in Vancouver Welcoming a new baby into the family is a special occasion that deserves to be captured in timeless photographs. In this blog, we'll...
Contact
Phone
604-724-0531
About us
We are an Award-winning studio. Specializing in baby, Maternity and newborn photography. Serving Vancouver, Burnaby, New Westminster, Richmond, Coquitlam, Port Coquitlam, Port Moody, Surrey, Langley, Delta, Maple Ridge, White Rock, Fraser Valley area, North Vancouver, West Vancouver, downtown Vancouver, Lions Bay, Squamish, and Whistler.
