Today in this blog we want to talk about how to pose a newborn on a bean bag safely and correctly. and also how to take a beautiful photo in this setup.
Newborn photography is a beautiful and at the same time complex and sensitive art. So you have to know all the lighting techniques and working with different types of lenses and cameras and composition. Also at the same time work skillfully and delicately with a baby when they are less than 20 days old,
We should do our job and make sure not to hurt the baby and not put pressure on baby’s neck and back and be careful to not wake them up.
To photograph the baby, you can use different types of bed baskets and props. You should be more advanced to use this kind of props..
But working with a newborn baby on a bean bag is much easier and you can create beautiful and classic images that parents would cherish for a lifetime.
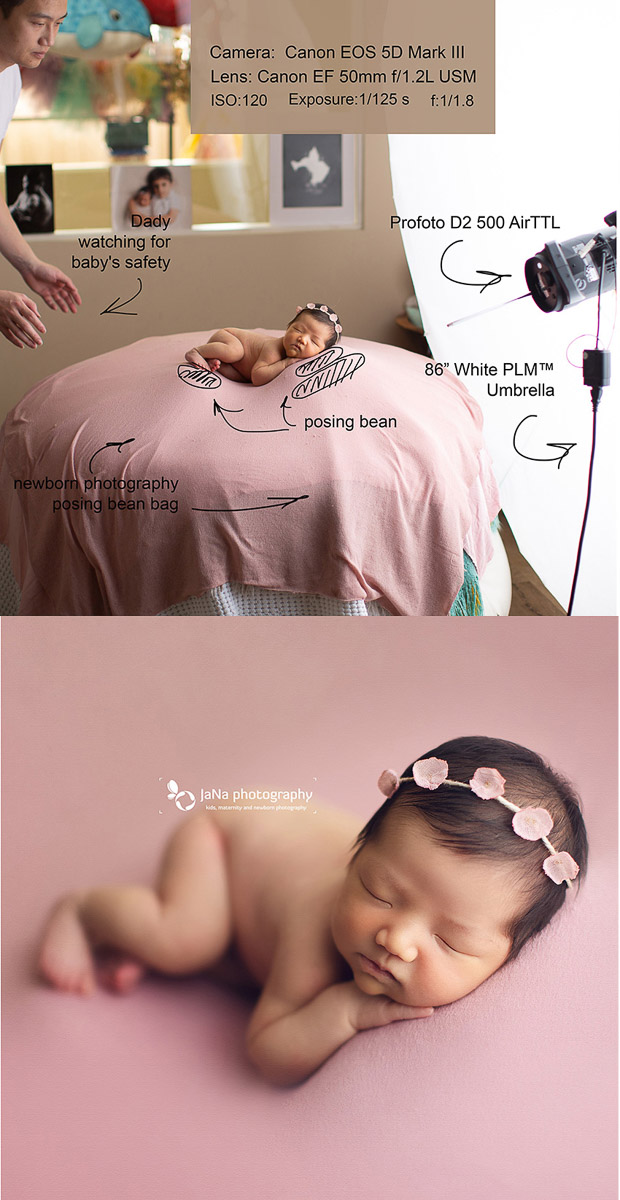
Posing a newborn baby on a bean bag step by step
1- Depending on the shape and size of your studio or whether you are going to on location session, you can choose the appropriate size Bag. Desktop or very large size with curved frames. Today, baby photography stores produce this type of bag with variety sizes and shapes, and you can easily find the right shape for your style.
But if transporting the bags is a little difficult, especially when you go to the customer’s house for photography, do not worry, you can create a soft surface to pose baby with a little creativity from the customer’s sofa and by placing several layers of fabric.
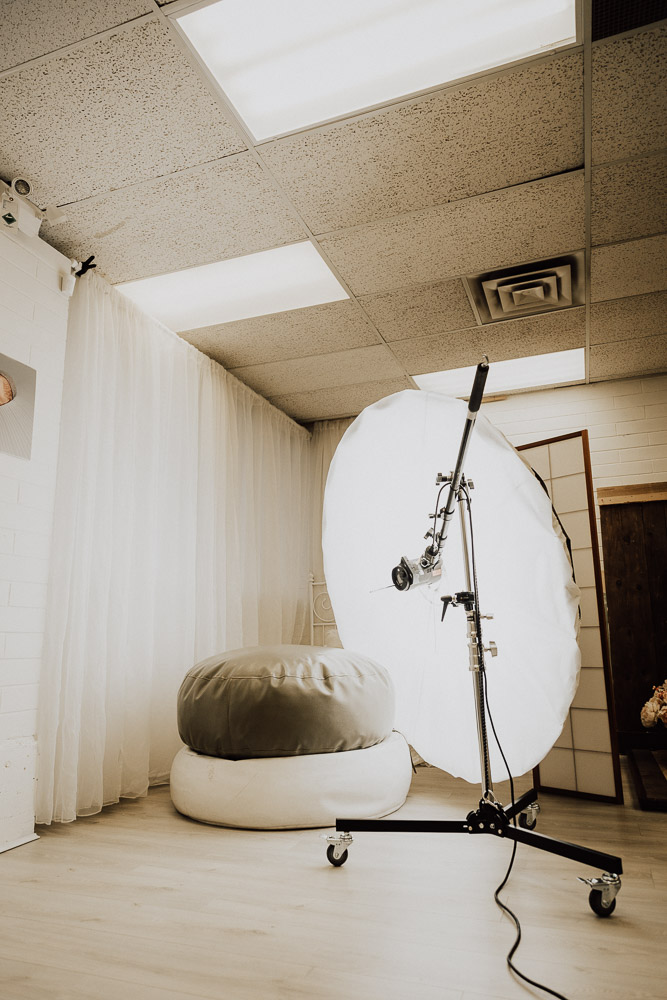
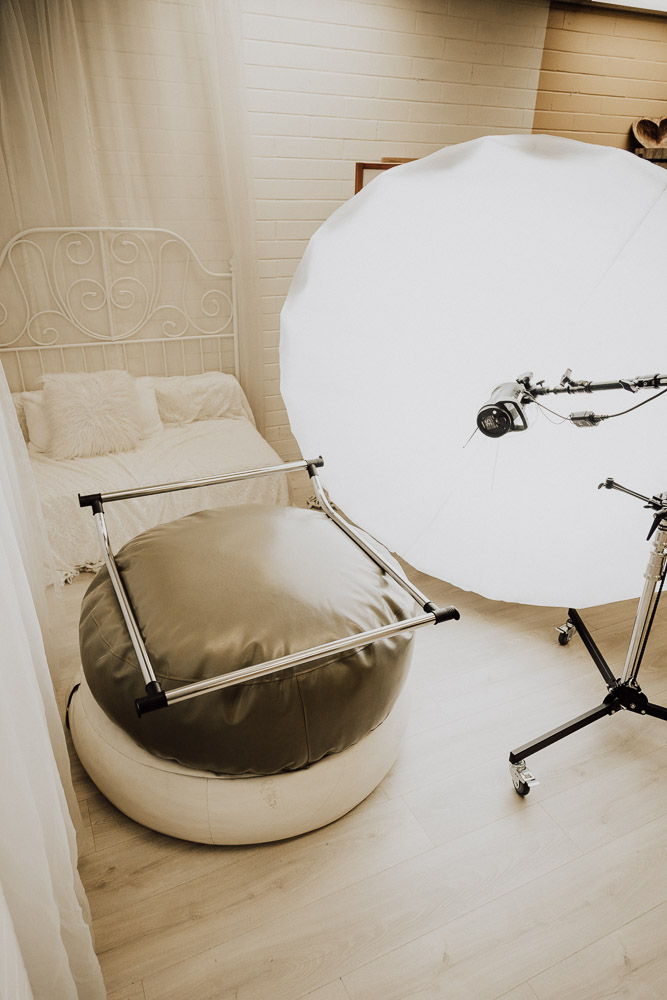
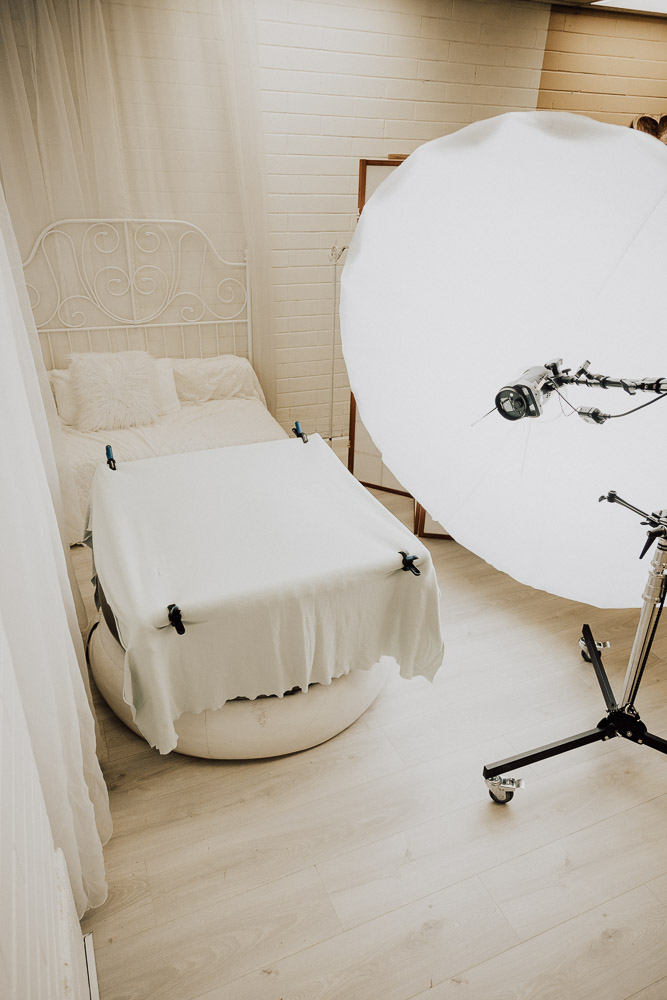
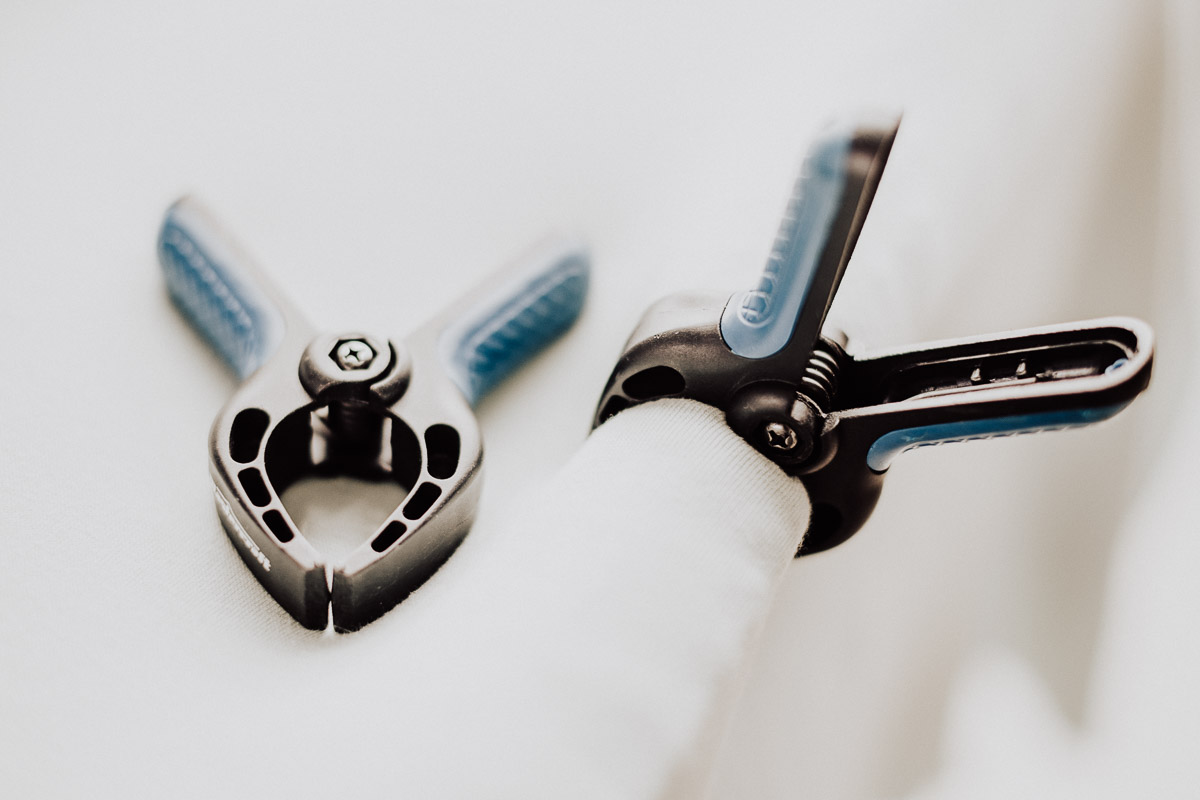
2- To get rid of wrinkles on the fabric and save editing time while using stretch fabrics, be sure to use clamps and possibly a frame.
3- To get a smooth surface and prevent unwanted shadows from under the surface, use several layers of fabric on top of the bean bag.
4- If you intend to photograph the baby naked and without a diaper, be sure to use a pee-pad in the upper layers so in case of an accident, all layers of your fabric will not get dirty and wet.
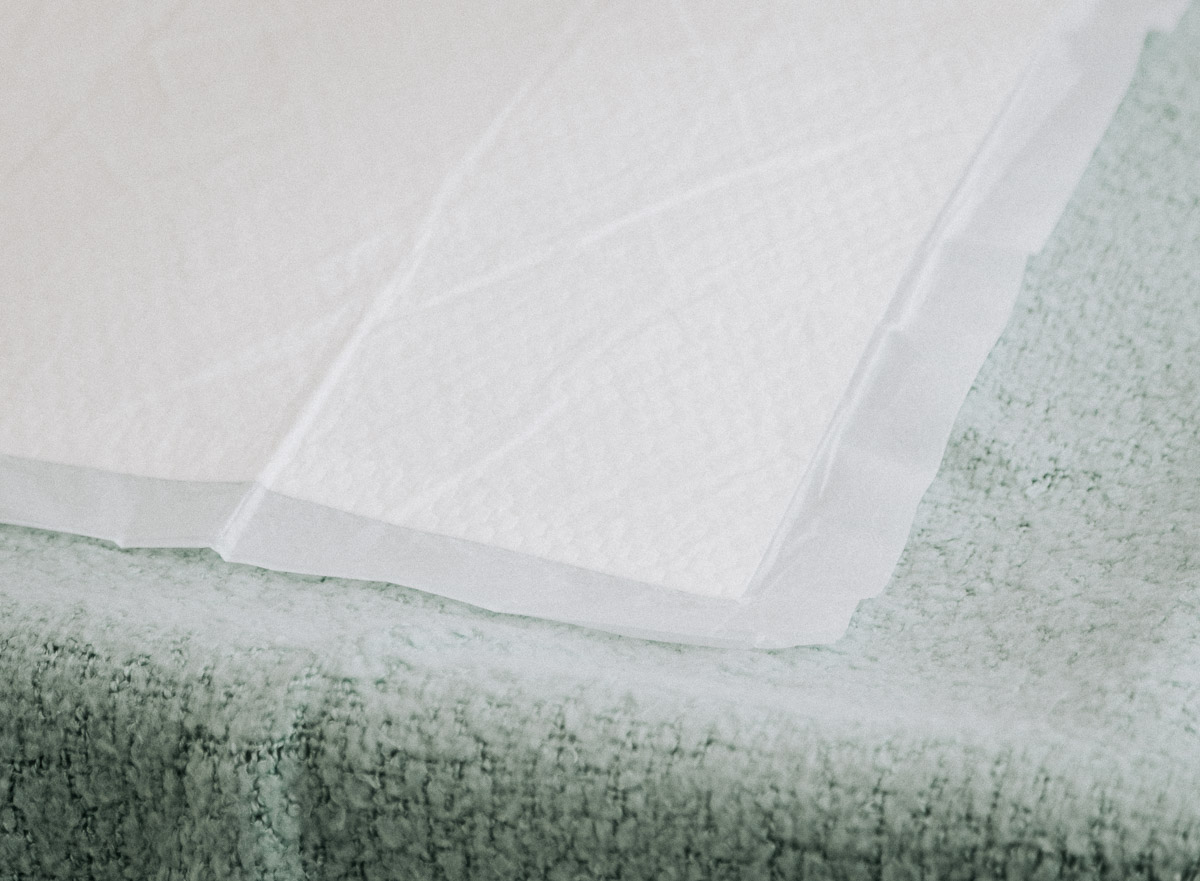
5- To get the best form from your baby’s head and feet, you need several posing beans in different sizes. We need at least 4 beans for today’s pose.
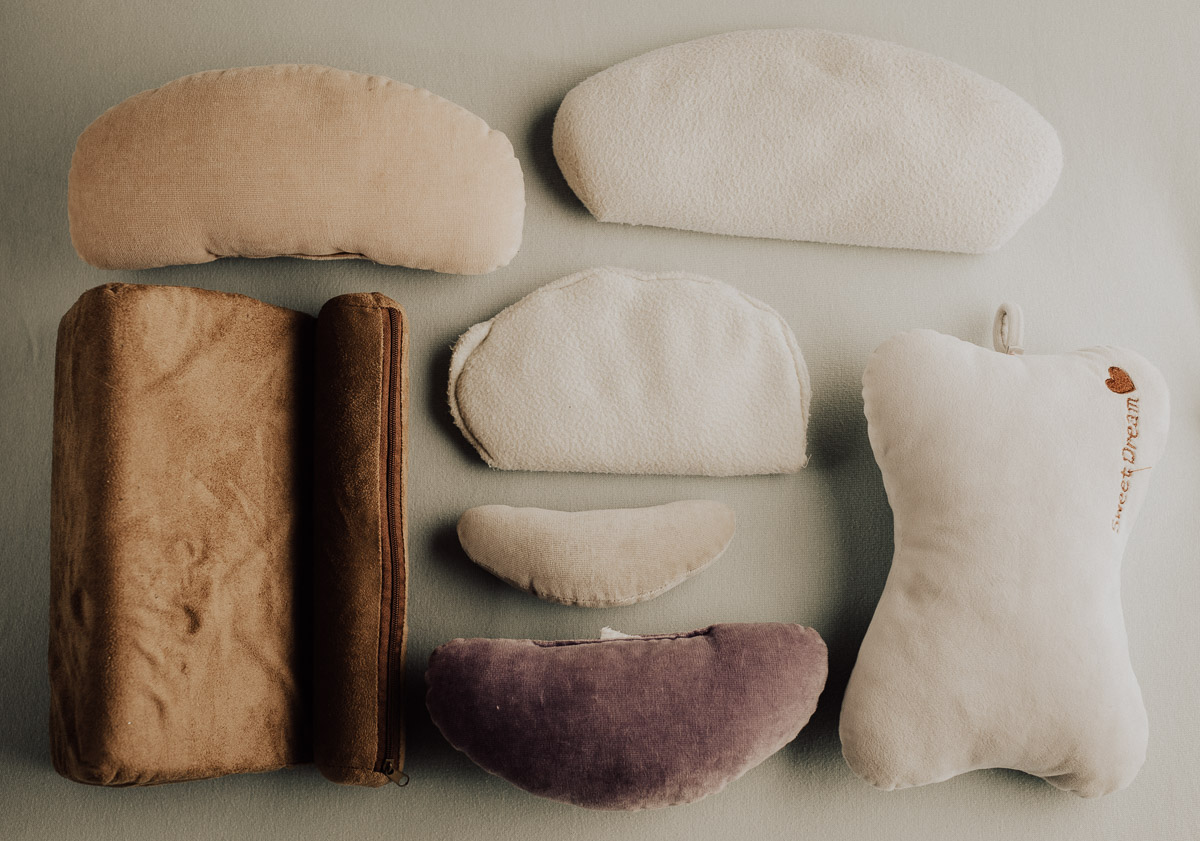
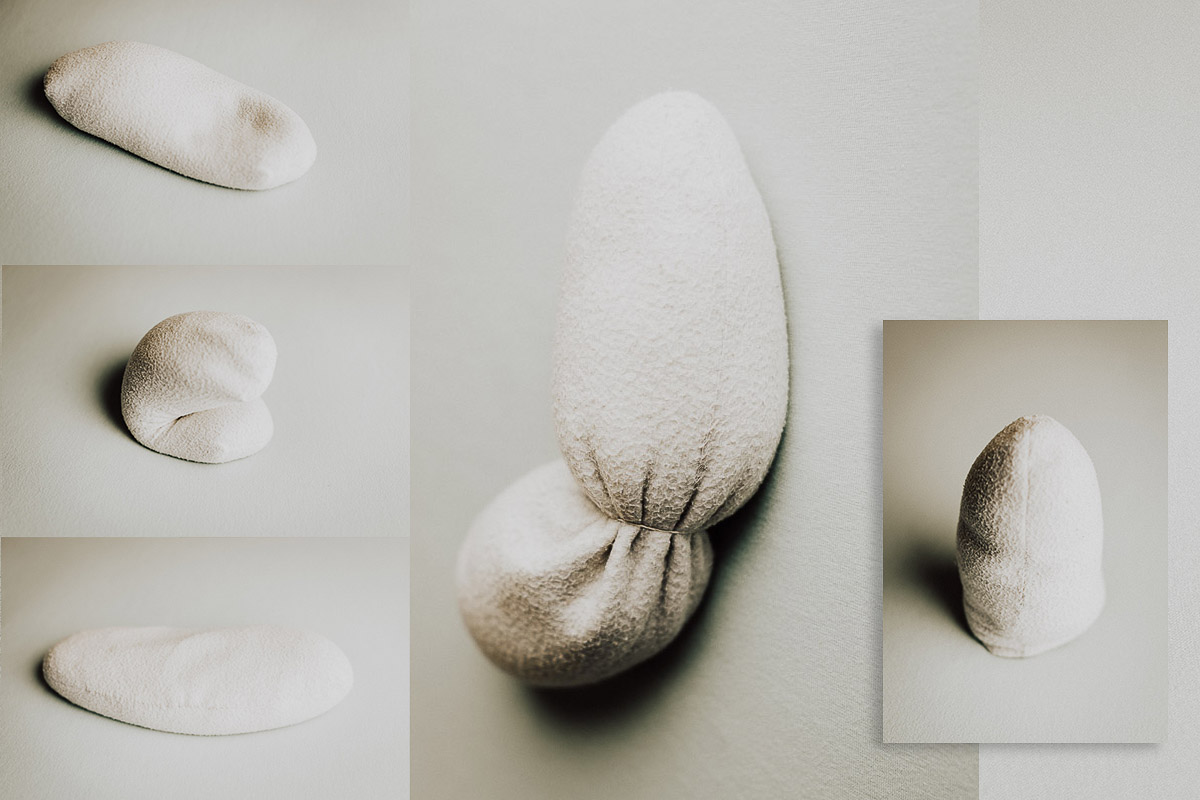
An interesting point. I always use a bean stuffed with rice that changes shape easily and can be shaped to the shape and size of a newborn baby’s head.
If you do not have access to these beans, you can use towels and roll them. I suggest that you always have different instruments of simple towels with you. Certainly to achieve a perfect pose always You will need them.
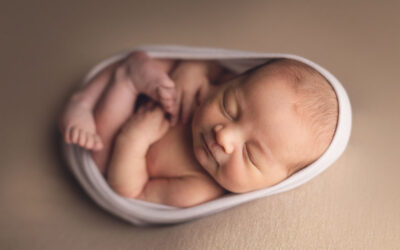
how to pose a newborn on a bean bag.
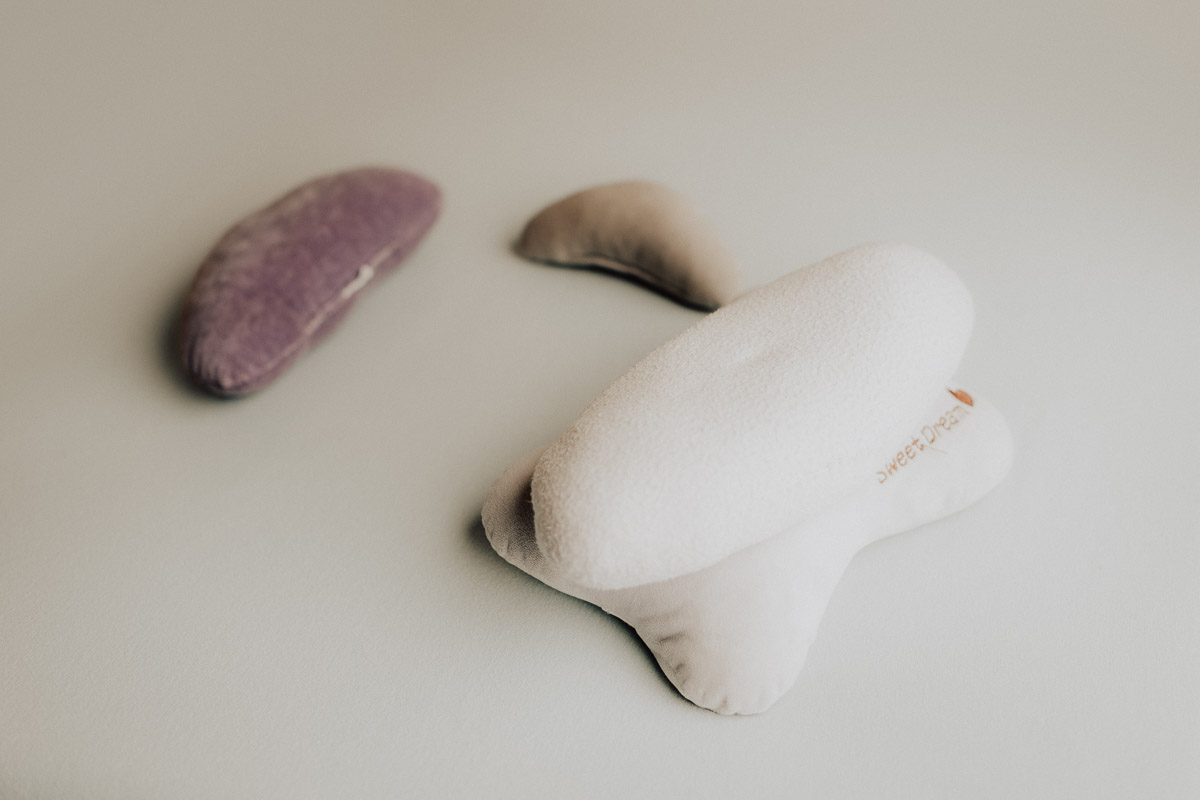
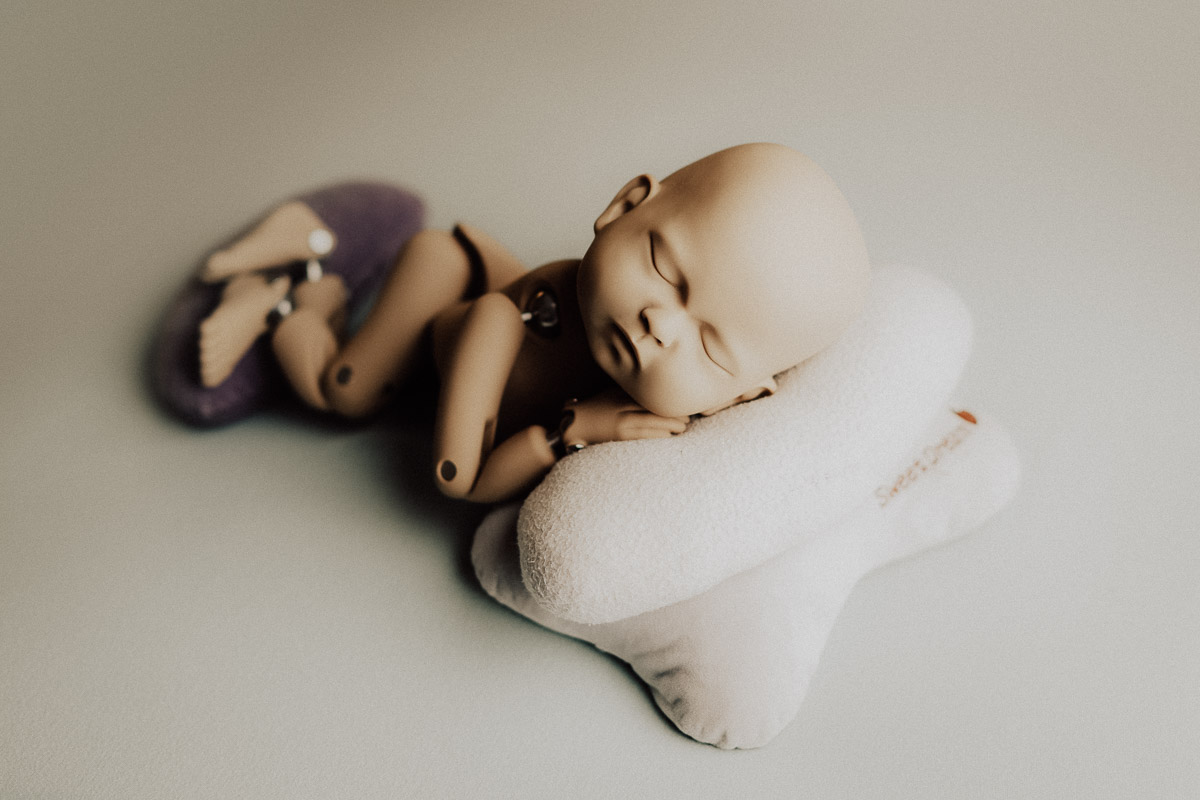
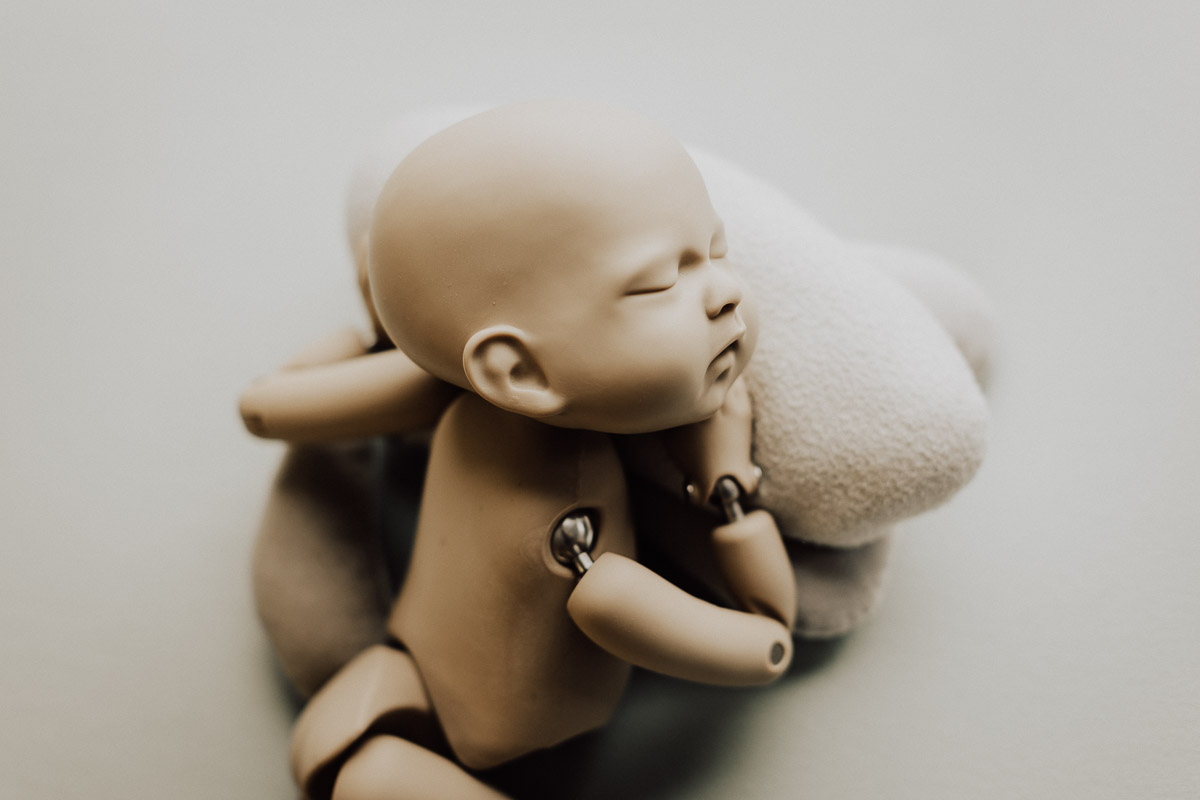
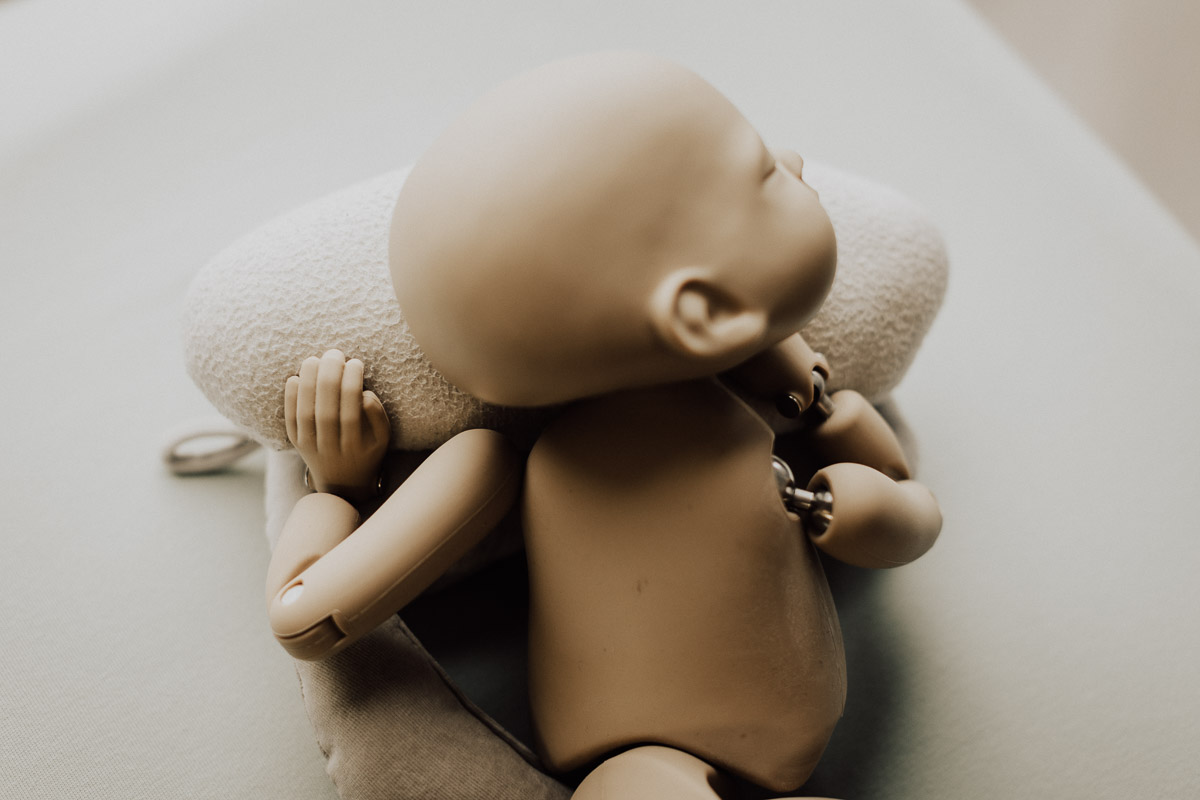
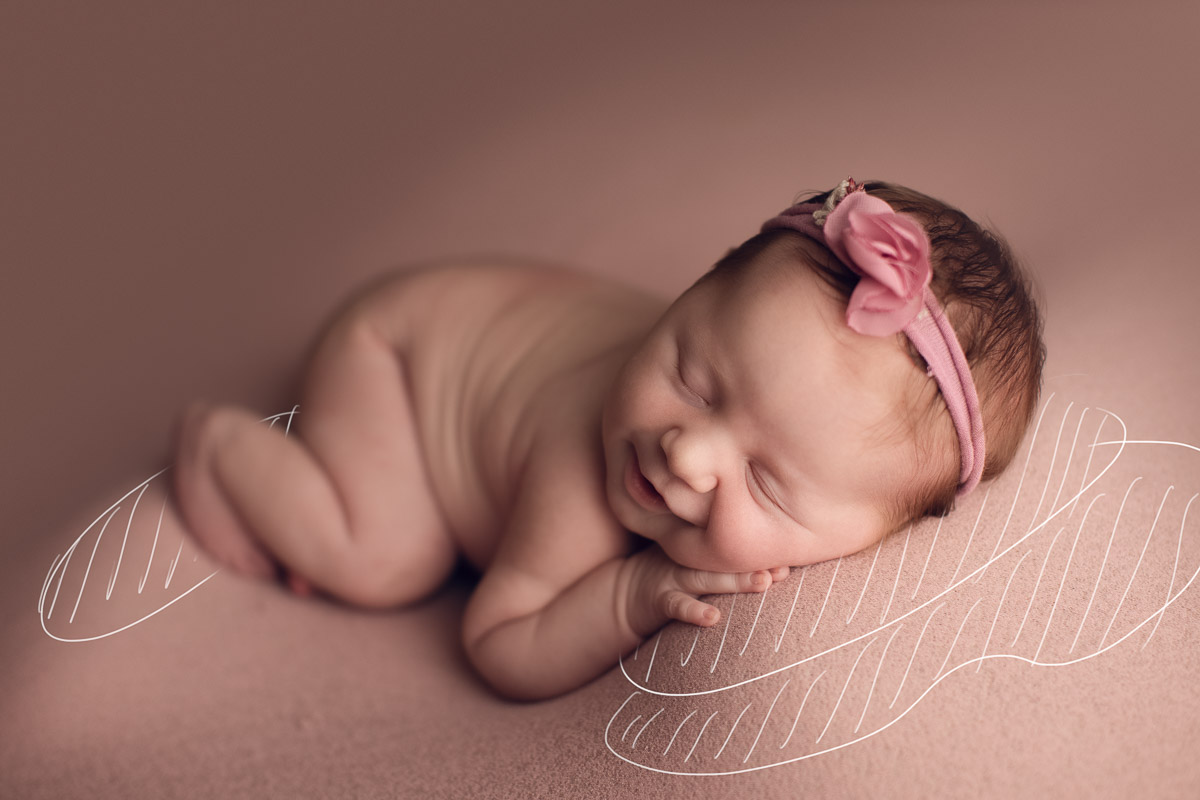
6- To pose the baby’s hands and feet, we need at least two beans for the head and one for raising the legs up. To prevent baby from rolling, it is better to put a small bean in the back. Of course, depending on the size of the baby, we may put the head slightly lower or higher.
7- Now, with the help of the exercise baby doll and some pictures, we show how the newborn is posing on the bean bag(posing bag). Pay attention to how the left hand is positioned so that the baby does not roll back.
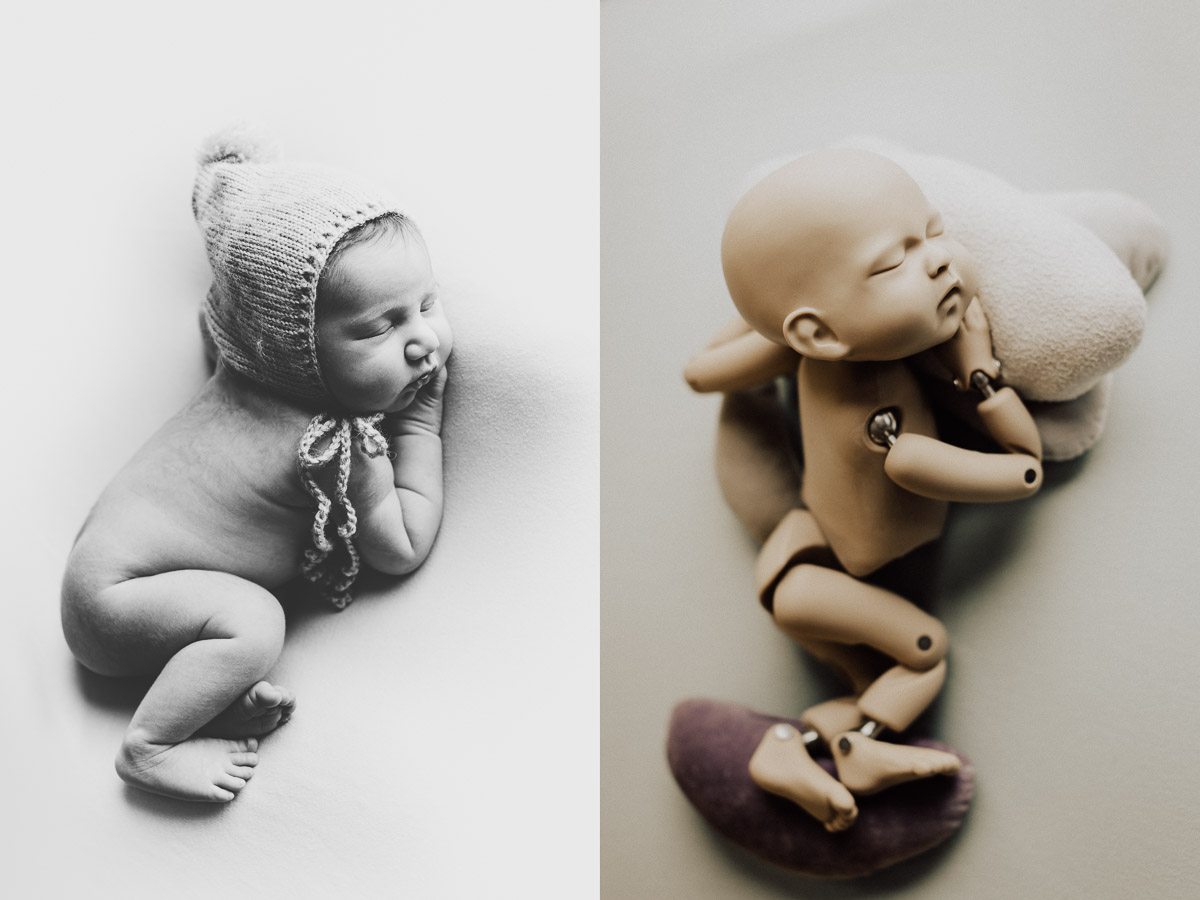
One tip: How to pose a newborn on a bean bag | Tutorial
If you can always hire an assistant to stay with the baby all the time would be the best and the safest way to go..
Even if you protect the newborn with beans, safety layers and towels, the baby may still be upset in an unconscious movement or sneeze, which would create an unpredictable or dangerous situation.
If you do not have an assistant, you can always ask the parents to watch and keep an eye on the baby. Mom and dad are very happy when they can help in this photography session and it is a unique experience for them.
8- And the last not the least, paying attention to lighting, framing and camera angle, which you can achieve the image you want with a lot of practice.
More from our blogs
Family photography in Vancouver
Recently, a lovely family came to us for their family photography in Vancouver. This is the third time that we have visited them: two newborn photography sessions and one maternity photoshoot when our location was in Burnaby.This is exactly what happened when this...
Affordable newborn photography package
Welcome to Jana Photography where we offer an affordable newborn photography package. We are a professional five-star boutique studio in Vancouver specialize in premium quality newborn photography portraits. Recently we have added a new service in our newborn...
Tips for Parents on Including Siblings in Newborn Photography
first of all Tips for Parents on Including Siblings in Newborn Photography Sessions and Choosing the Best Photographer in Vancouver Welcoming a new baby into the family is a special occasion that deserves to be captured in timeless photographs. In this blog, we'll...
Capturing the Essence at Jana Photography
The arrival of a newborn is an extraordinary moment in the life of any family, and at Jana Photography, we consider it a privilege by capturing the essence of these precious early days. Recently, we had the pleasure of photographing a darling three-day-old newborn,...
5 Props That I Use In Every Newborn photography Session
This blog is about 5 Props That I Use In Every Newborn photography Session. As a seasoned newborn photographer, I've found that the right props can transform a session, turning it into a timeless collection of memories. In this blog post, let's delve into five...
newborn photography special package
Newborn photography special package and also Exciting News!We've just moved to our new commercial/retail store at 2465 Kingsway, Vancouver, and to celebrate, we're thrilled to introduce a special and affordable newborn photography package. photographer: MahtaPackage...
Contact
Phone
604-724-0531
About us
We are an Award-winning studio. Specializing in baby, Maternity and newborn photography. Serving Vancouver, Burnaby, New Westminster, Richmond, Coquitlam, Port Coquitlam, Port Moody, Surrey, Langley, Delta, Maple Ridge, White Rock, Fraser Valley area, North Vancouver, West Vancouver, downtown Vancouver, Lions Bay, Squamish, and Whistler.
