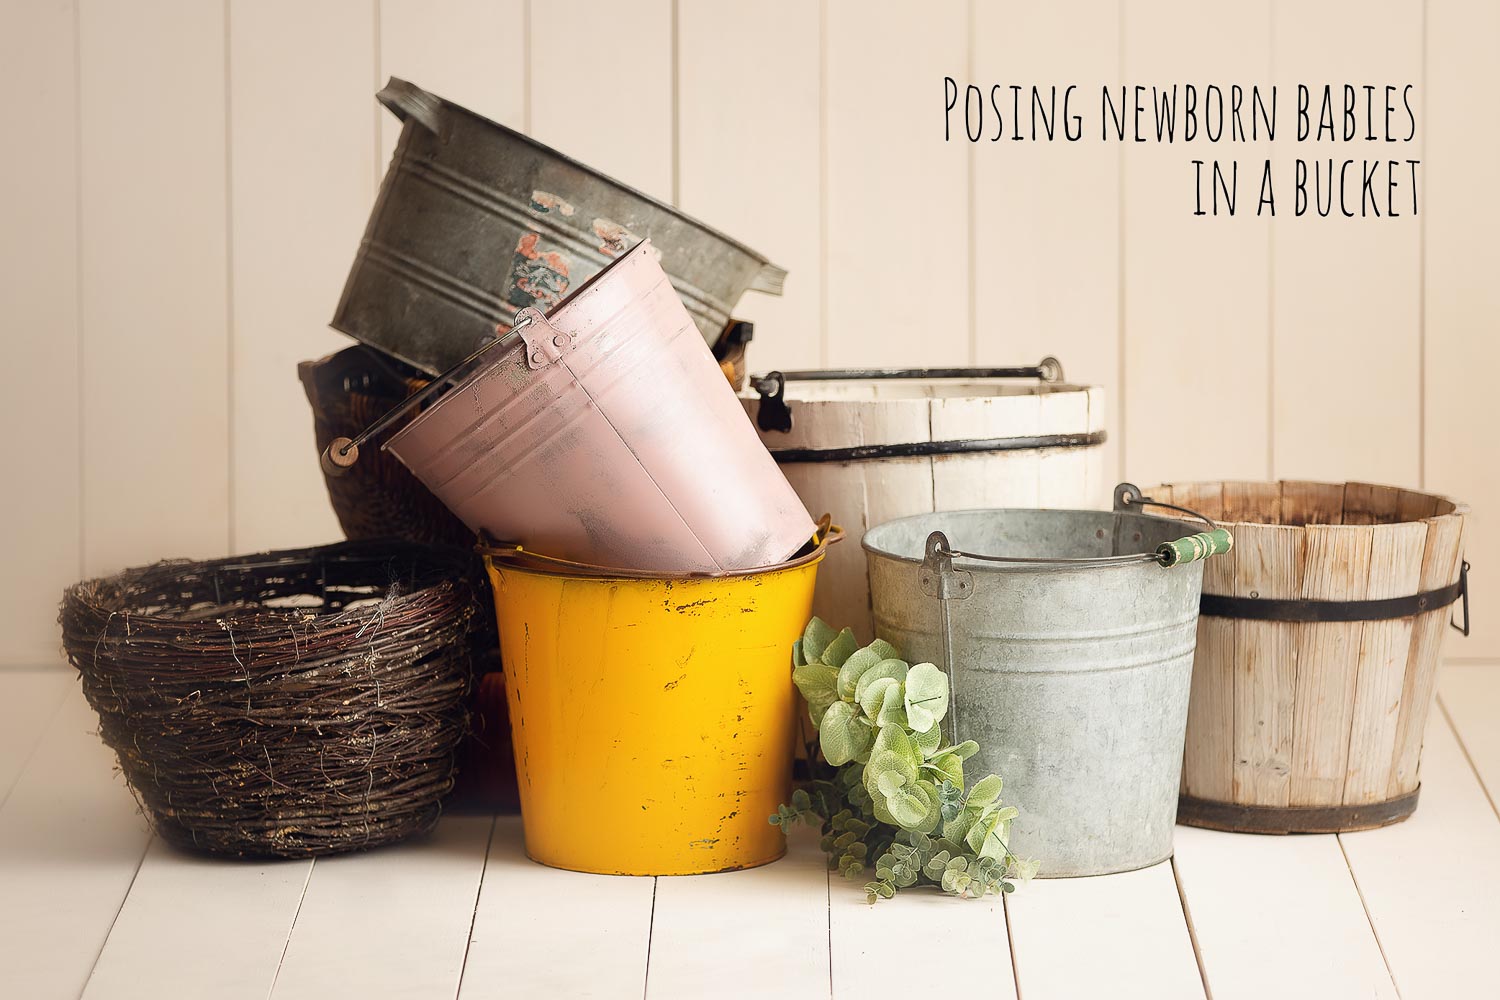
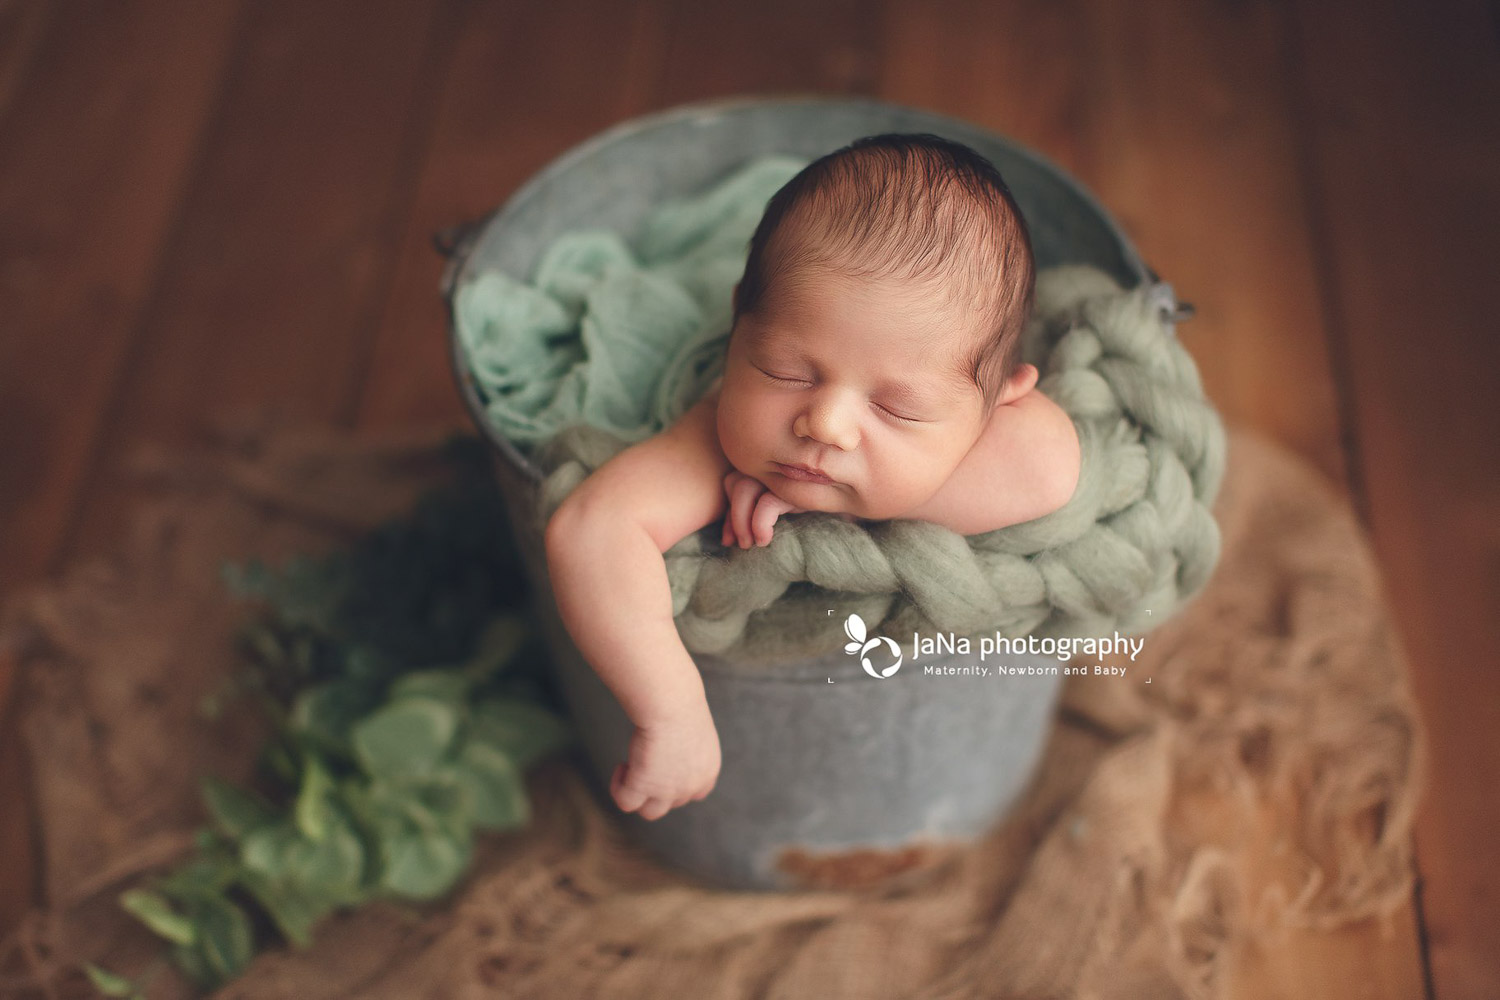
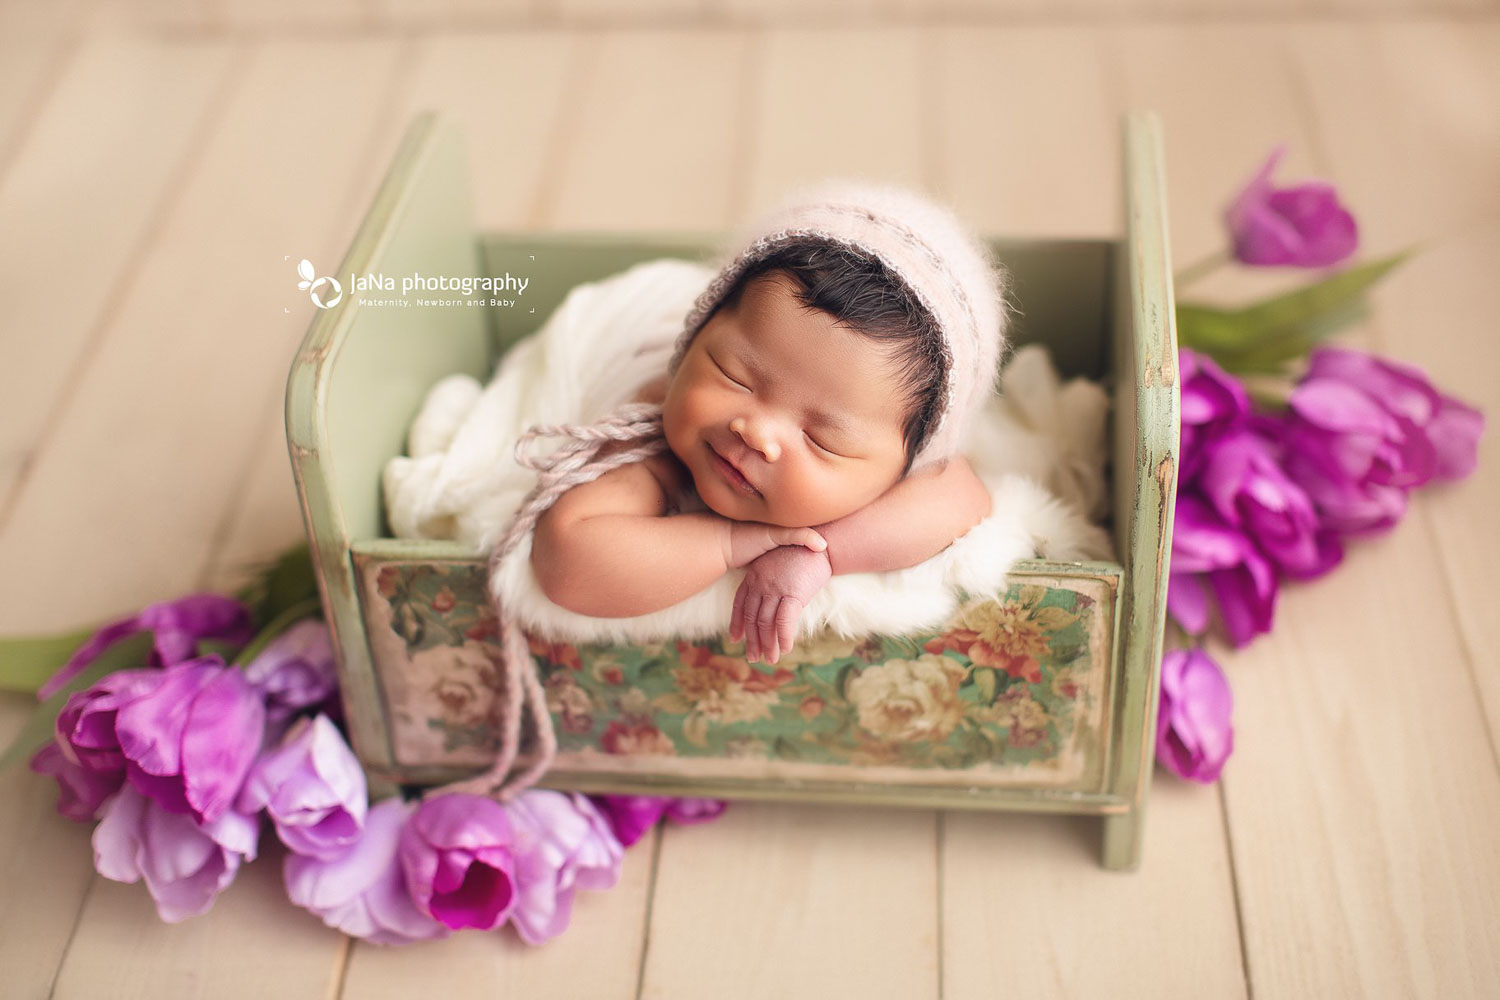
In today’s newborn photography tutorial, we are teaching you how to pose babies safe in a bucket for that gorgeous newborn photography that clients are seeking throughout Vancouver, Canada.
A newborn baby in a rustic bucket is always cute and everybody loves it. Our parents and clients always bring a screenshot of our Instagram page to show what color bucket is their favorite. Although we have a huge array of props on hand, all of which are available to you. They’re all vintage-inspired, often purchased from local antique shops. check our studio page to see more.
On the other hand, it’s always a question from the other newborn photographers, “How do you achieve this look?” or “How we can have a safe newborn shot in a bucket?”
Here are some tips to have a beautiful and safe bucket setup
7 TIPS FOR how to pose a newborn baby in bucket or basket :
1-Deep sleep is a key to have a great result
If you are trying to pose a baby in props and not on a bean bag, it’s better to wait until your newborn baby got to a deep sleep.
in this case, they do not move a lot and it’s safer. Have a small heater and noisemaker/baby shusher close to your props will help a lot to have a sleepy baby. For sure full giving baby a break for a milk top up and full tummy helps you to have a chance to master your pose.
Have a pacifier handy in case the baby is waking up or searching for a soother.
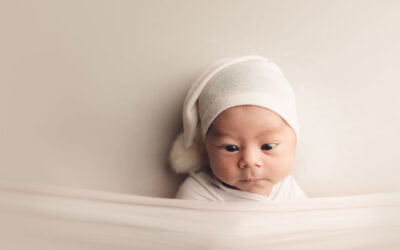
Don’t worry if suddenly the baby decided to wake up. Using a bunch of posing beans and with extra caution, you might get a chance to capture this shot safely with open yees. Yes! Those cute open eyes newborn pictures in bucket is the one that melts everyone’s heart.

2-Place weights at the bottom of the bucket
I usually use a 5kg weight to avoid moving the bucket and flip over. Most of the time the baby is on the edge of the basket and without the weight, it will be so dangerous. Please don’t skip this step. Its a must!!!
If I’m going to take pictures of a 100-day old baby in this position I would for sure use a heavier weight.
Always have your assistant or any of the parents close by, very close by keeping an eye on everything for babies’ safety and asked them to have their hands very close to the baby’s head.
To avoid hurting baby’s skin, cover the weight as well as the base of your props with a soft blanket. But don’t put so many beans and fabric inside because it will push babies back and posing newborn will be harder.
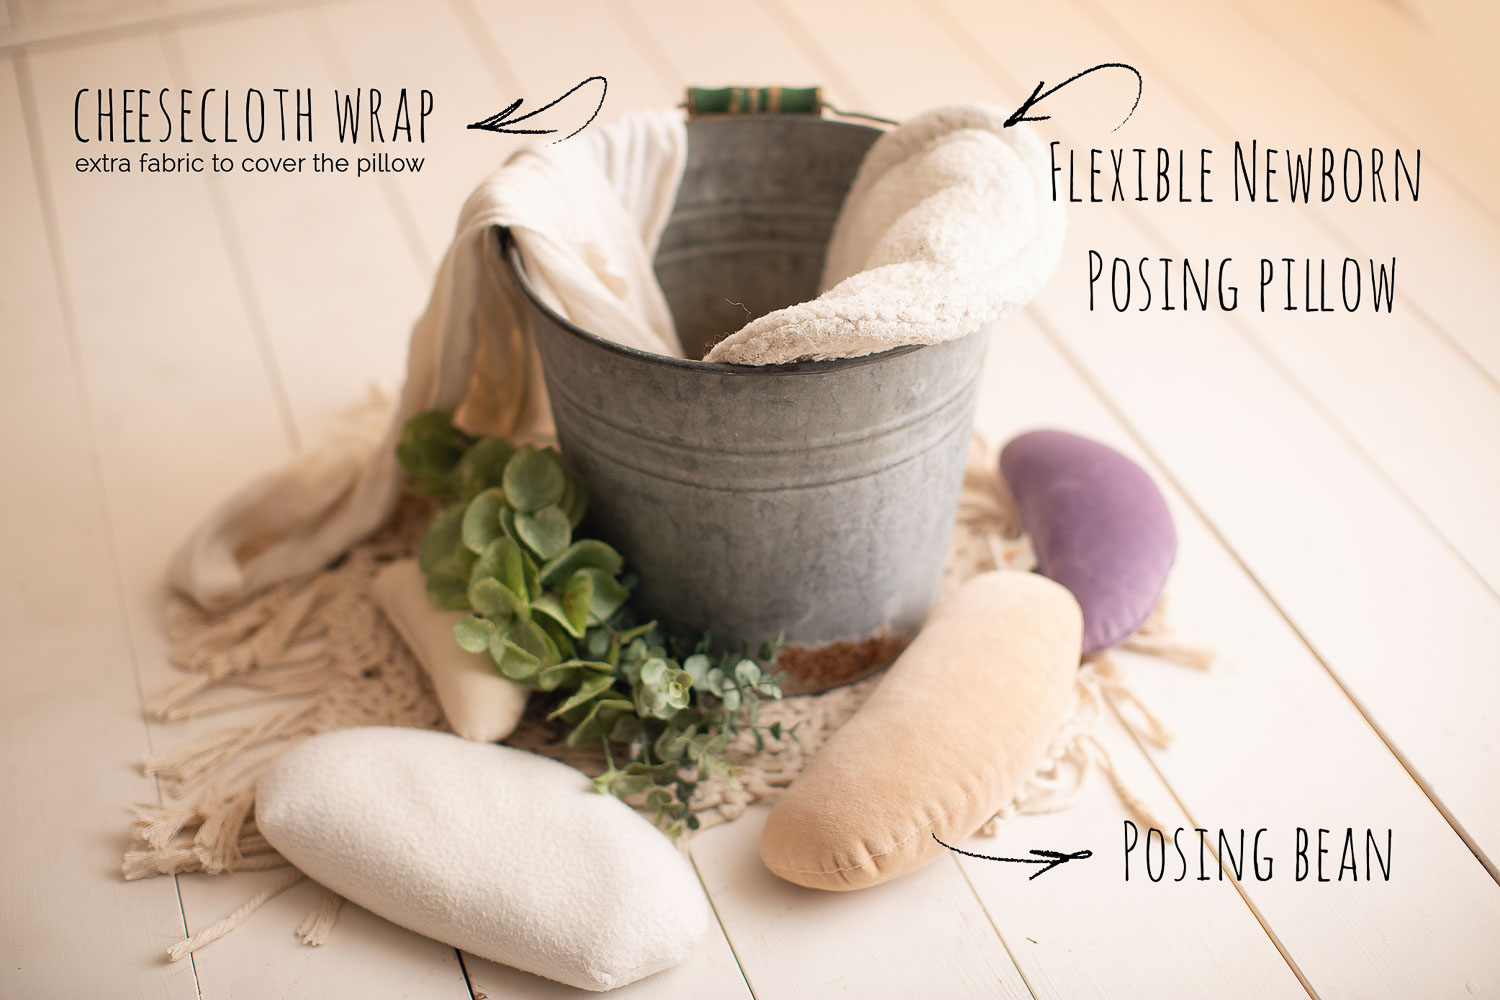

3-Have a wrap around a newborn and don’t pose them naked inside the bucket
Most of the time we do the bucket setup after doing all the wrap position. Then we half unwrap the baby. In this case, the fabric is covering the babies’ skin and also doesn’t let them move their legs. Also, the hands are free to pose on the edge of the bucket.
4-Safety is the first priority
We have said it before and never harm emphasizing. The baby’s safety always comes first. So have your assistant or one of the parents close to the setup and keep an eye on them carefully. It’s a must.
Also, you can use some beans or towels to have more support around the newborn baby.
We have a special posing pad that placed on the edge of the bucket and gives us a very smooth and safe place to pose babies’ arms.
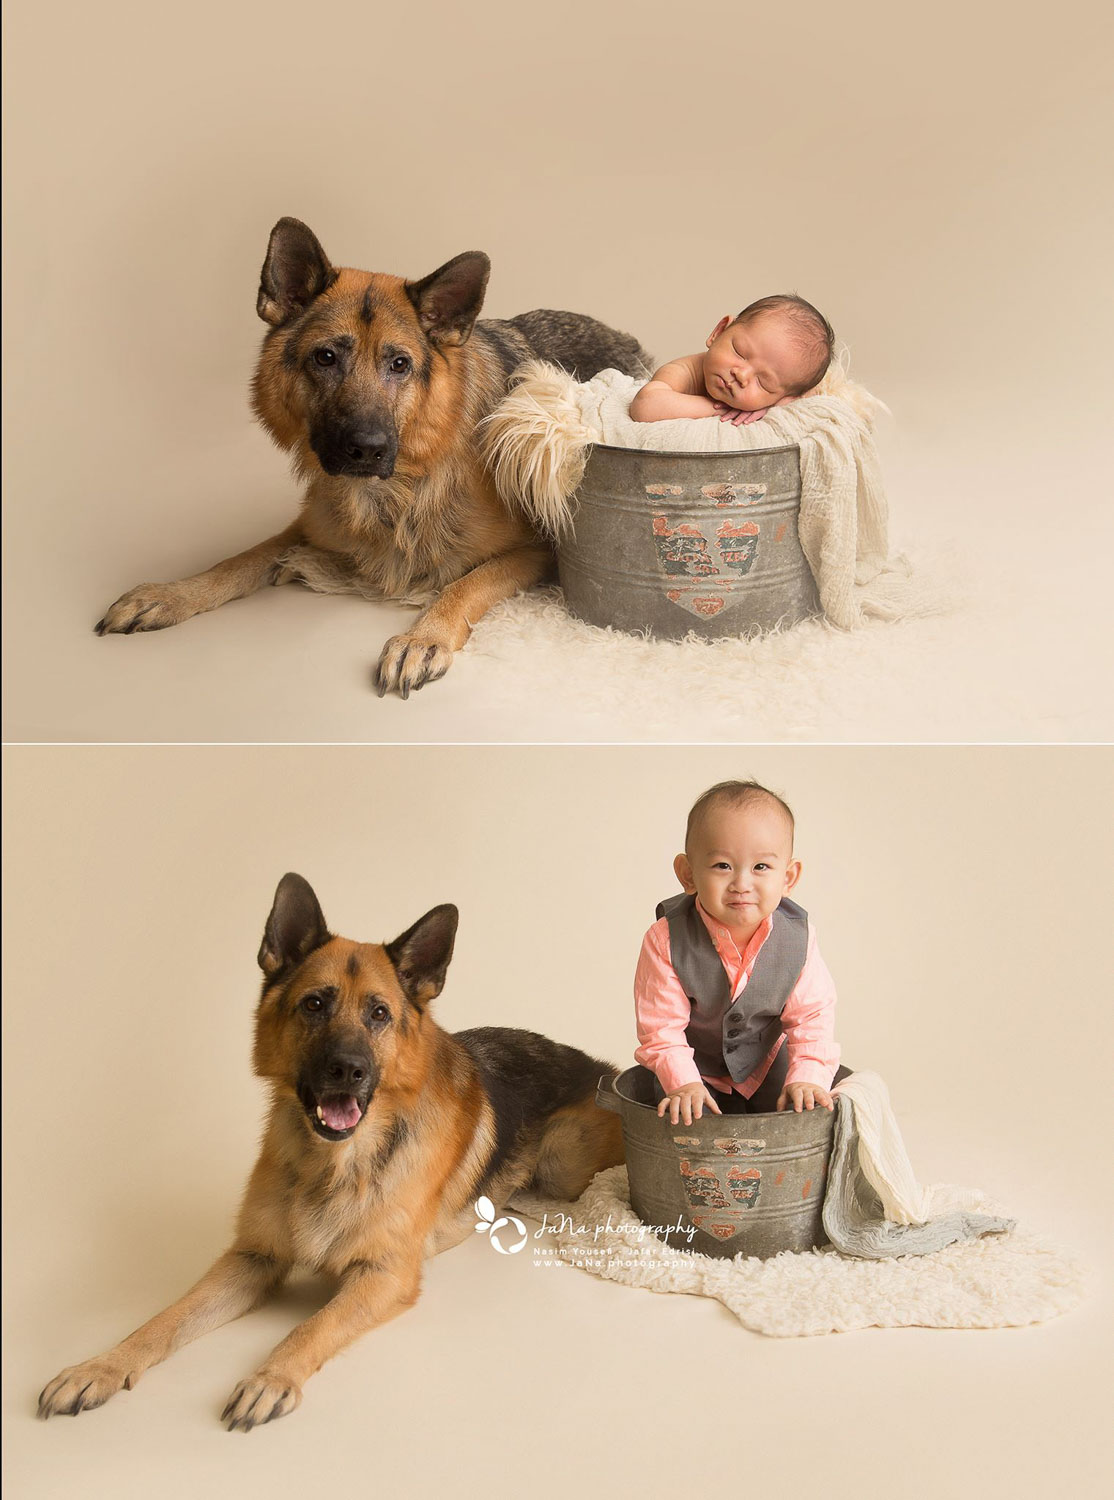
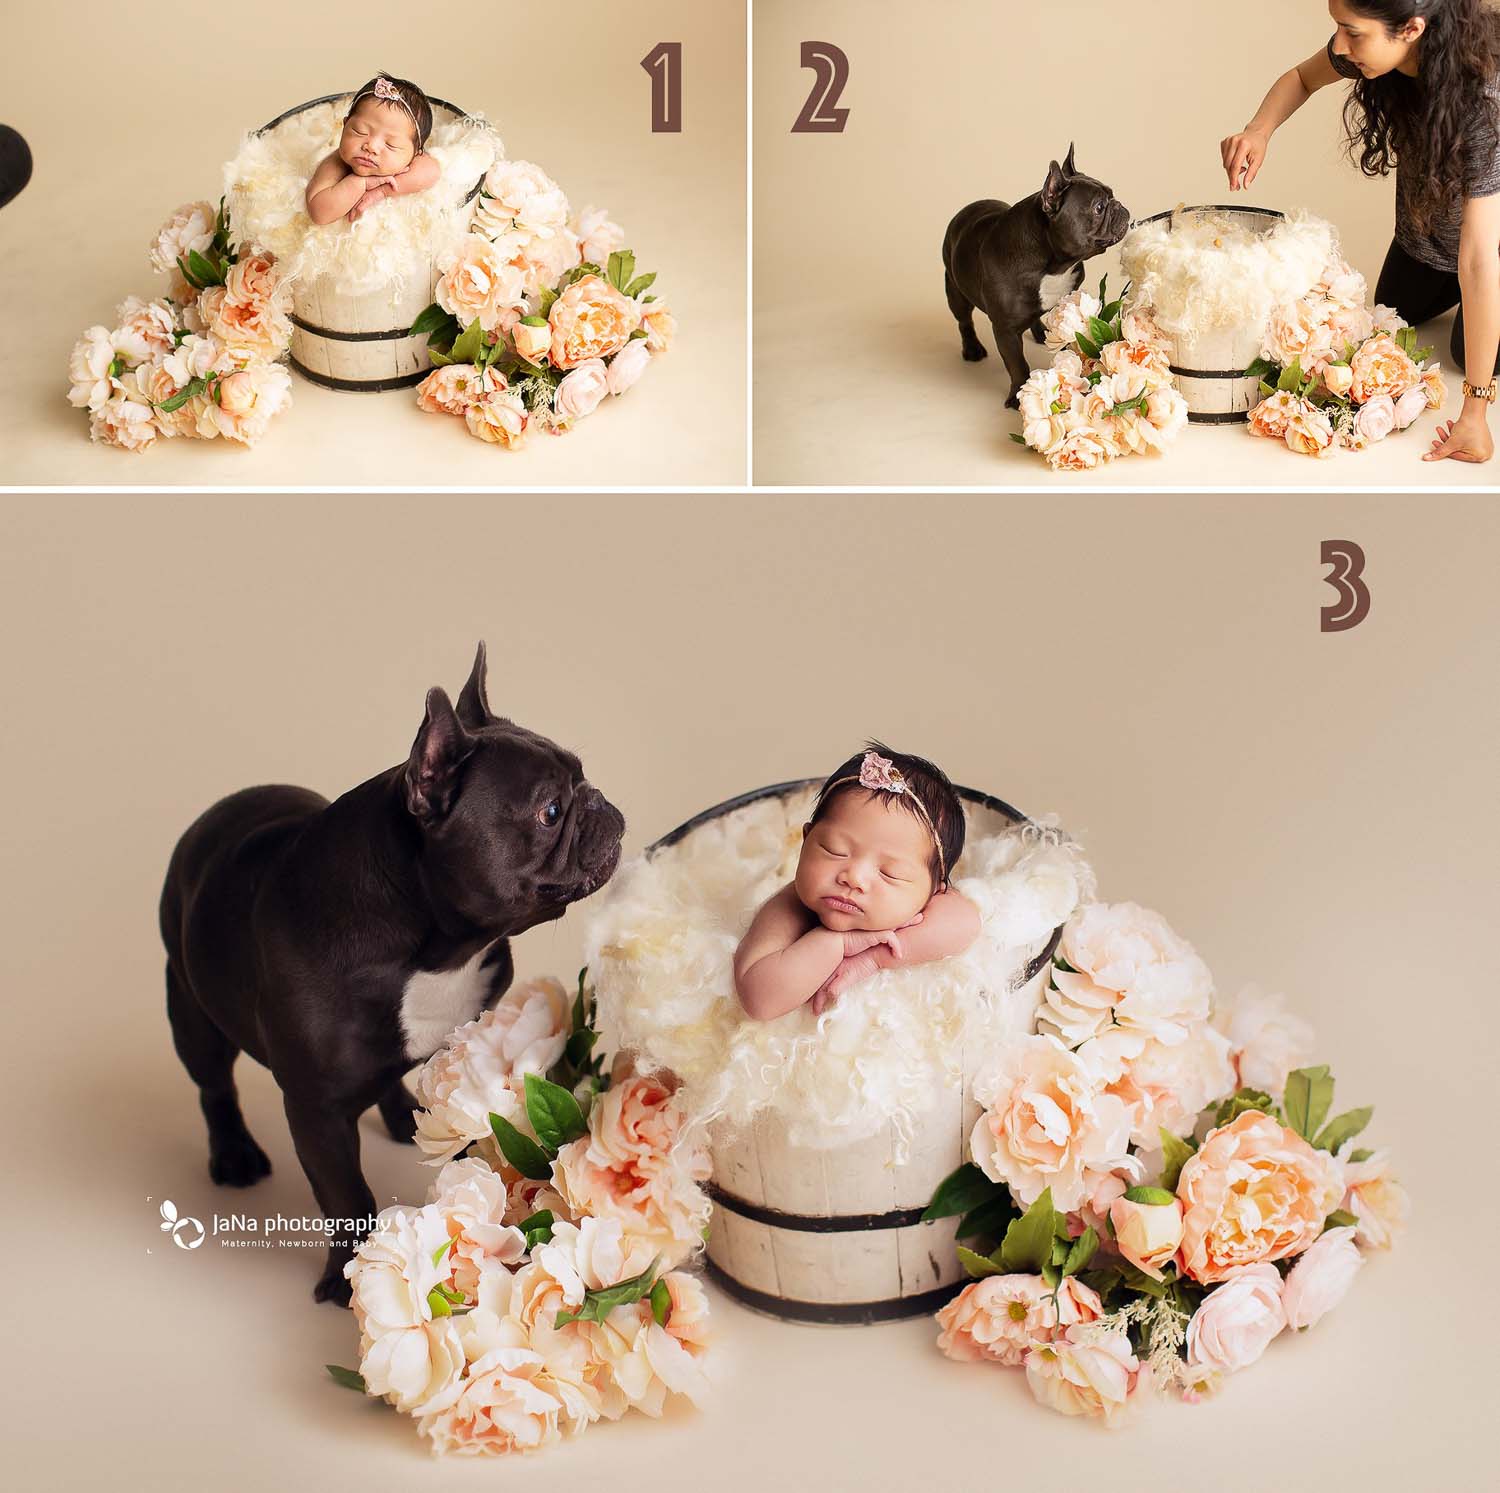
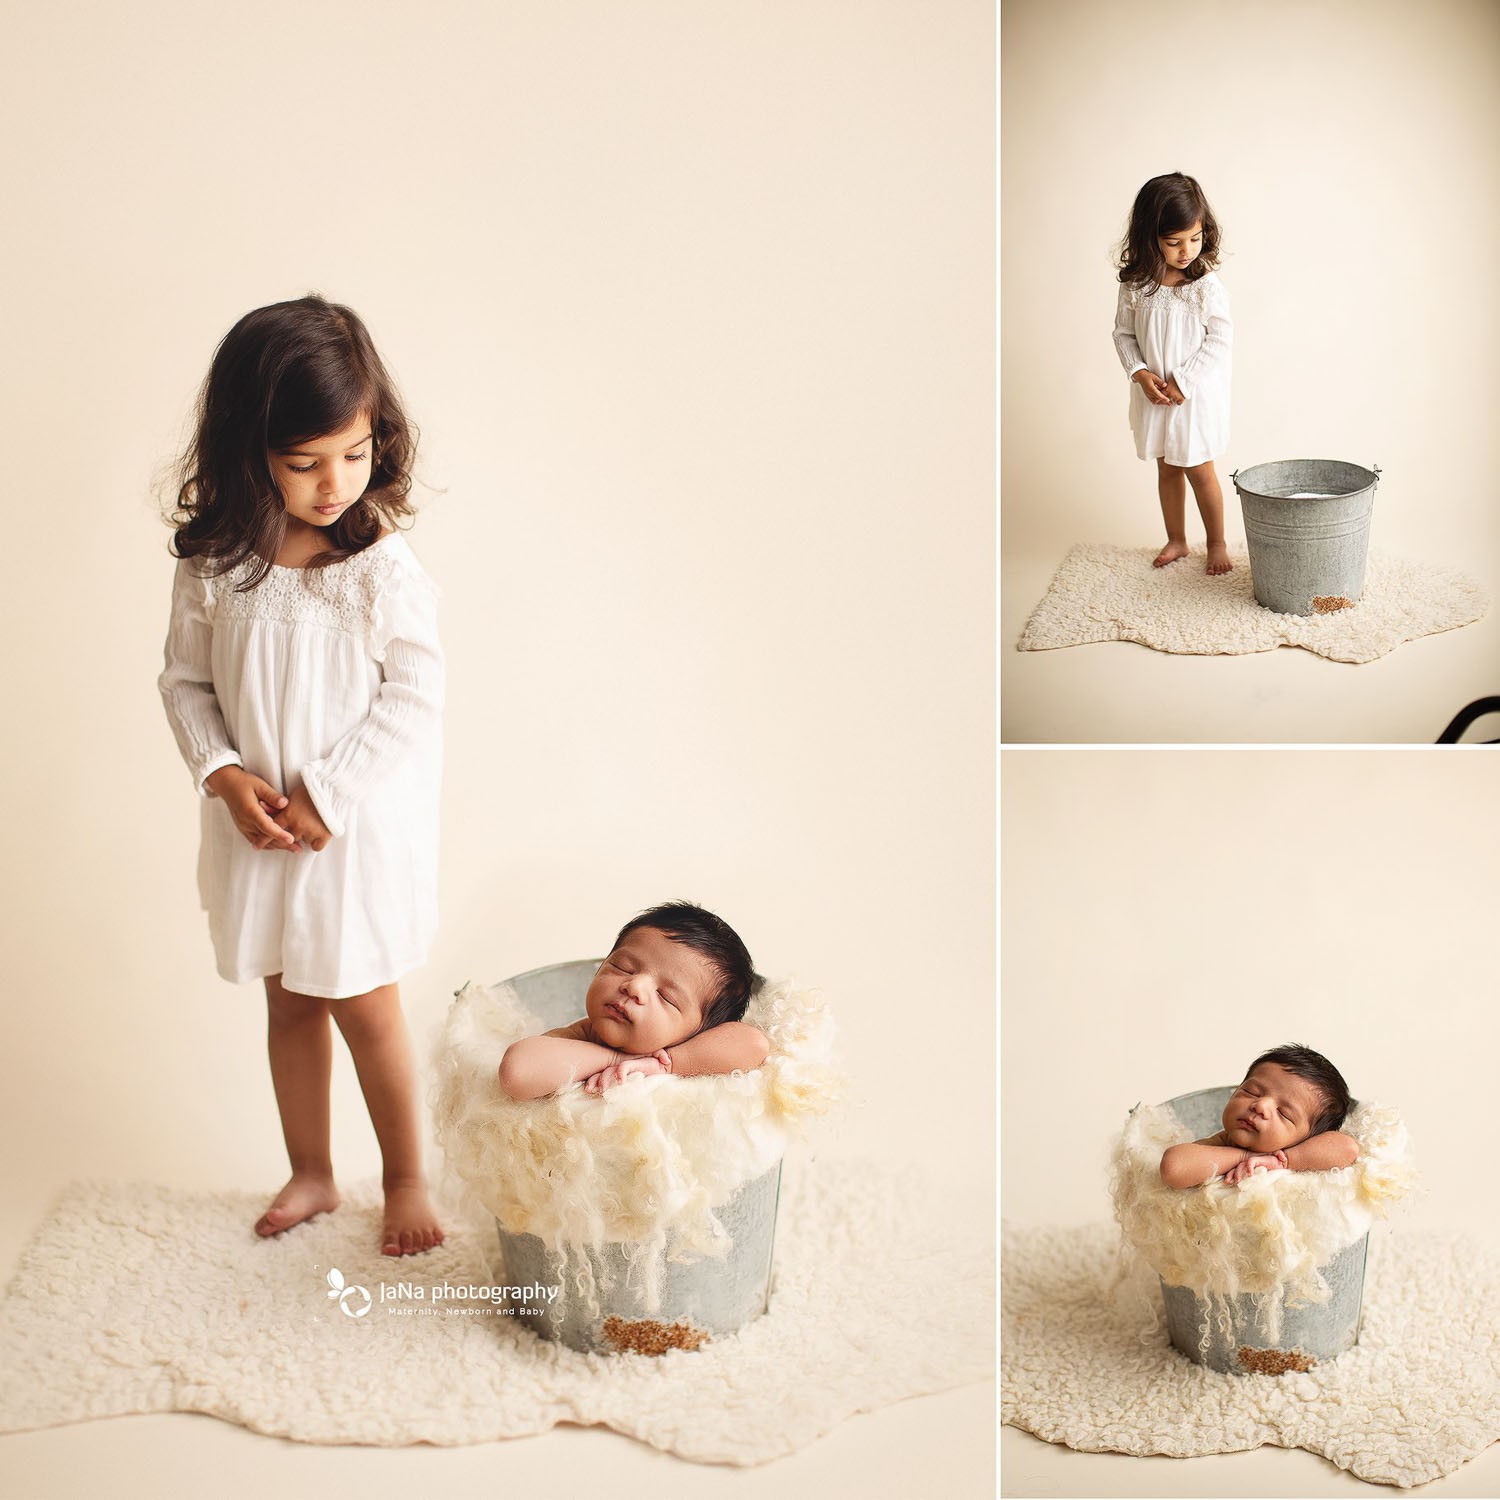
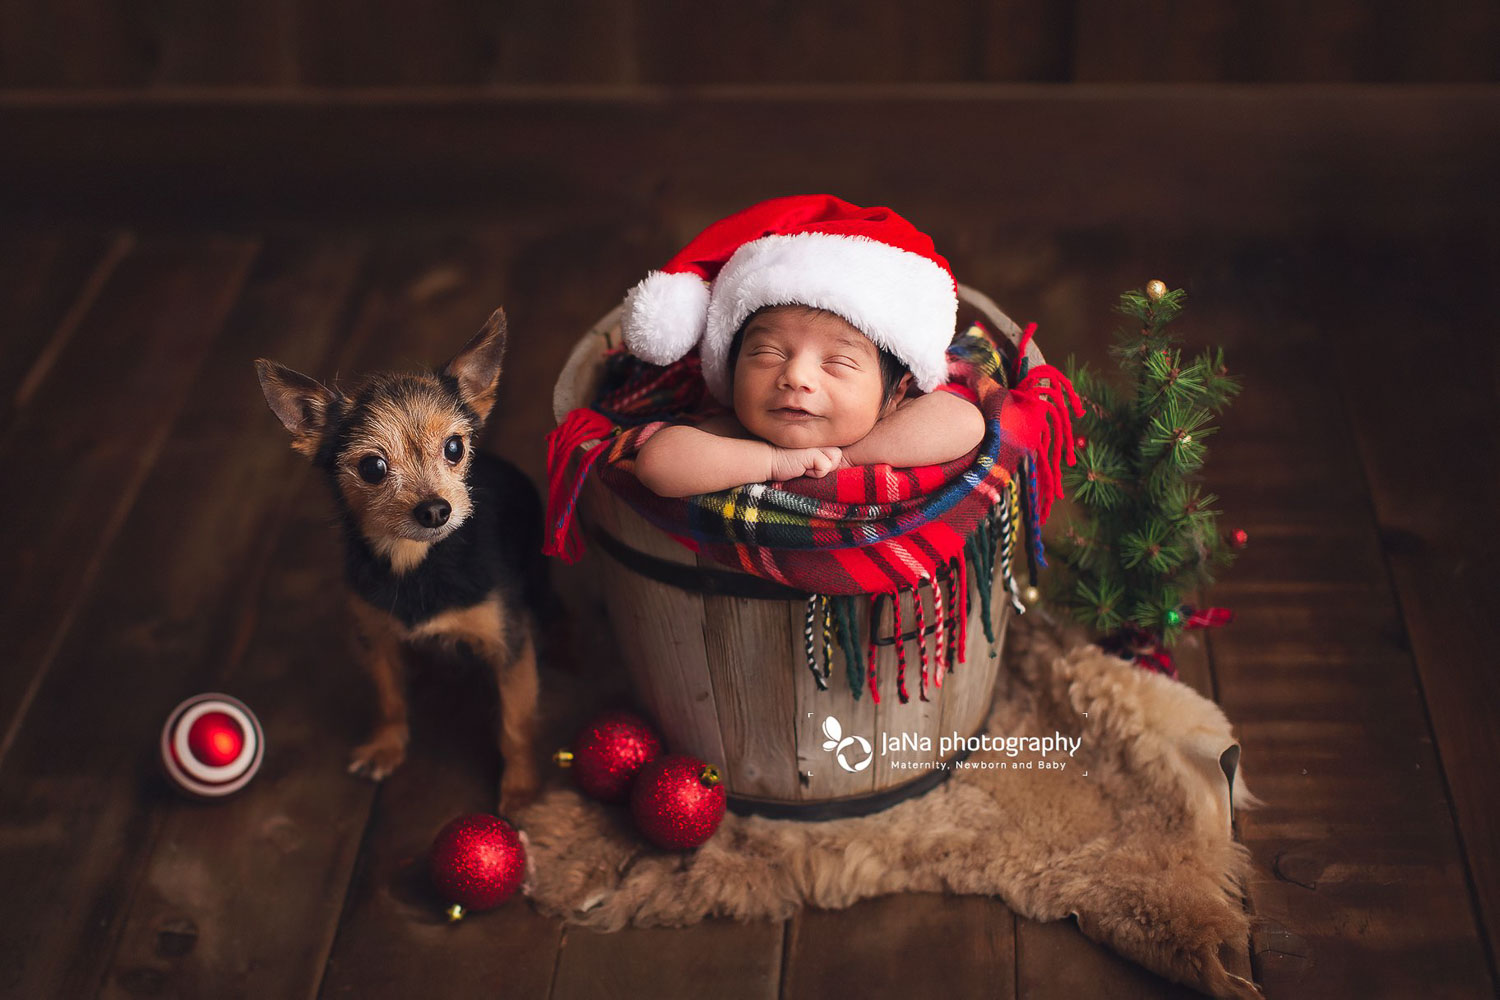
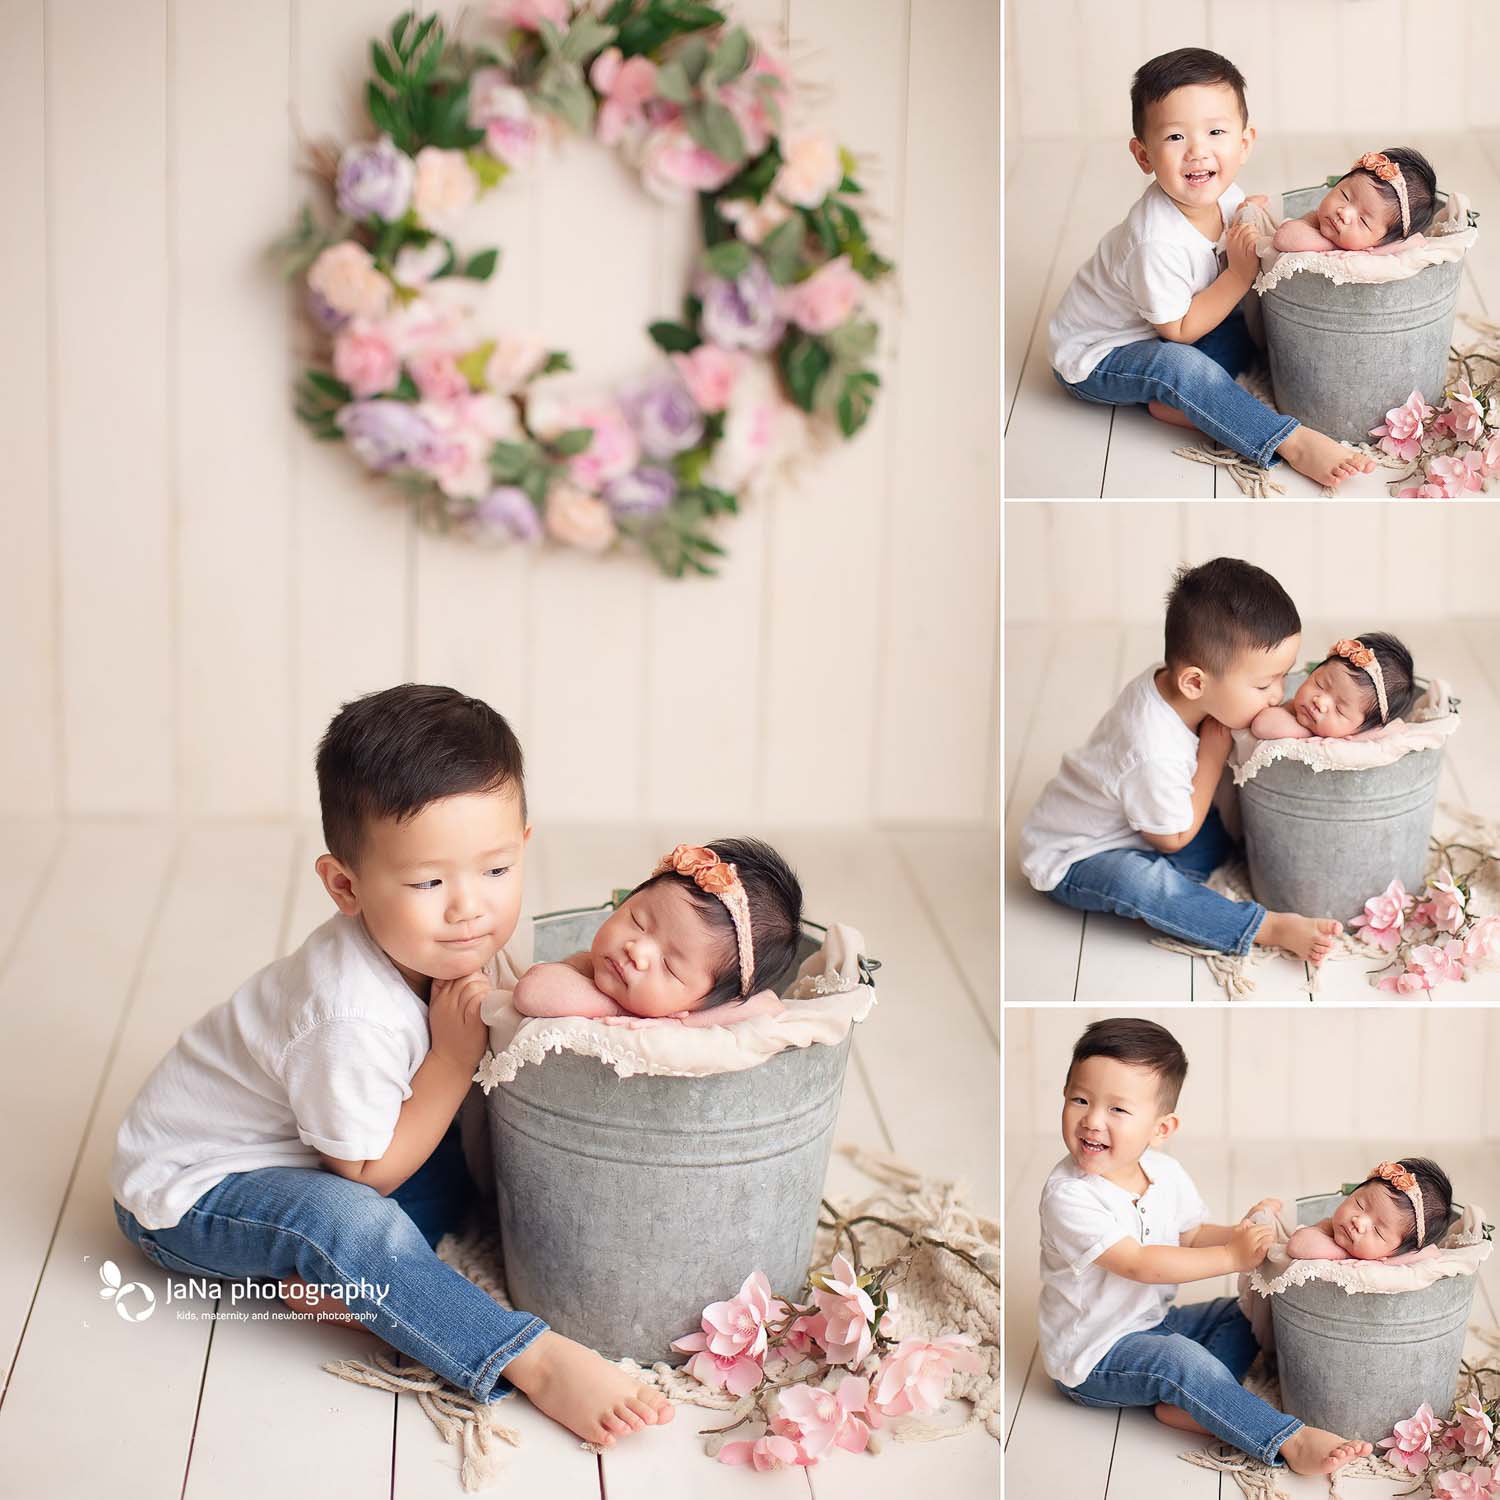
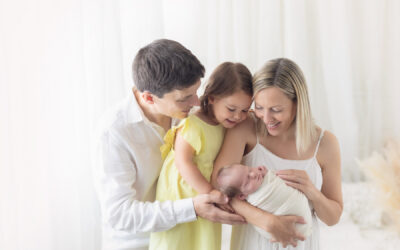
Bucket setup is also one of the bests ways to capture a newborn baby with their sibling or family dog pet. Check “newborn photography and dog” blog post if you are interested to learn more about taking pictures with pets and babies.
Once again for the baby’s safety, do this shot as a composite. So first capture the baby in the bucket, pass the baby to the parents and then include the sibling or family pet in the scene. To get their attention a good trick is to put a toy or some treats inside the bucket and distract them. For the final image, you will photoshop the individual shots as one.
check “How to take the best newborn sibling photo” blog post to see more.
5-Pose before going inside
Posing babies in a bucket is not hard. I always pose baby and arms in my hand and when he/she is calm and ready, smoothly place them on the bucket.
6-Capture from a different angle
Most likely it takes 5-10 minus to have a very good pose and after that, you can take more pictures by changing your camera’s angle. Then changing headband or add a cute bonnet will help you to have more variety. Hand dangling is another option for a different pose.


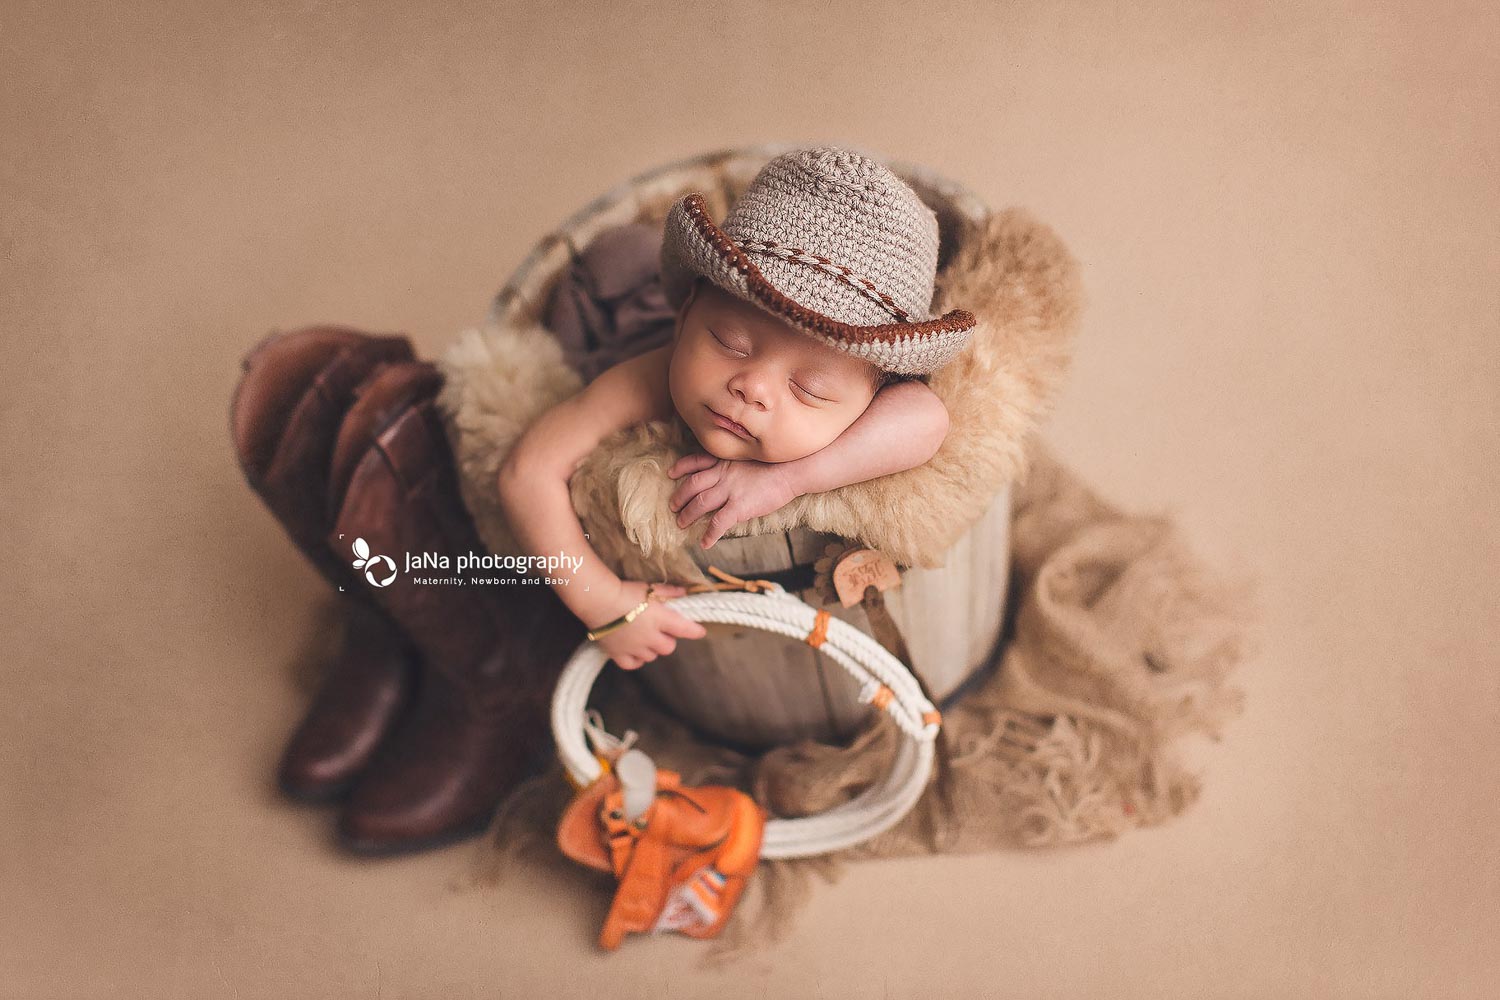
7-Pay attention to the details
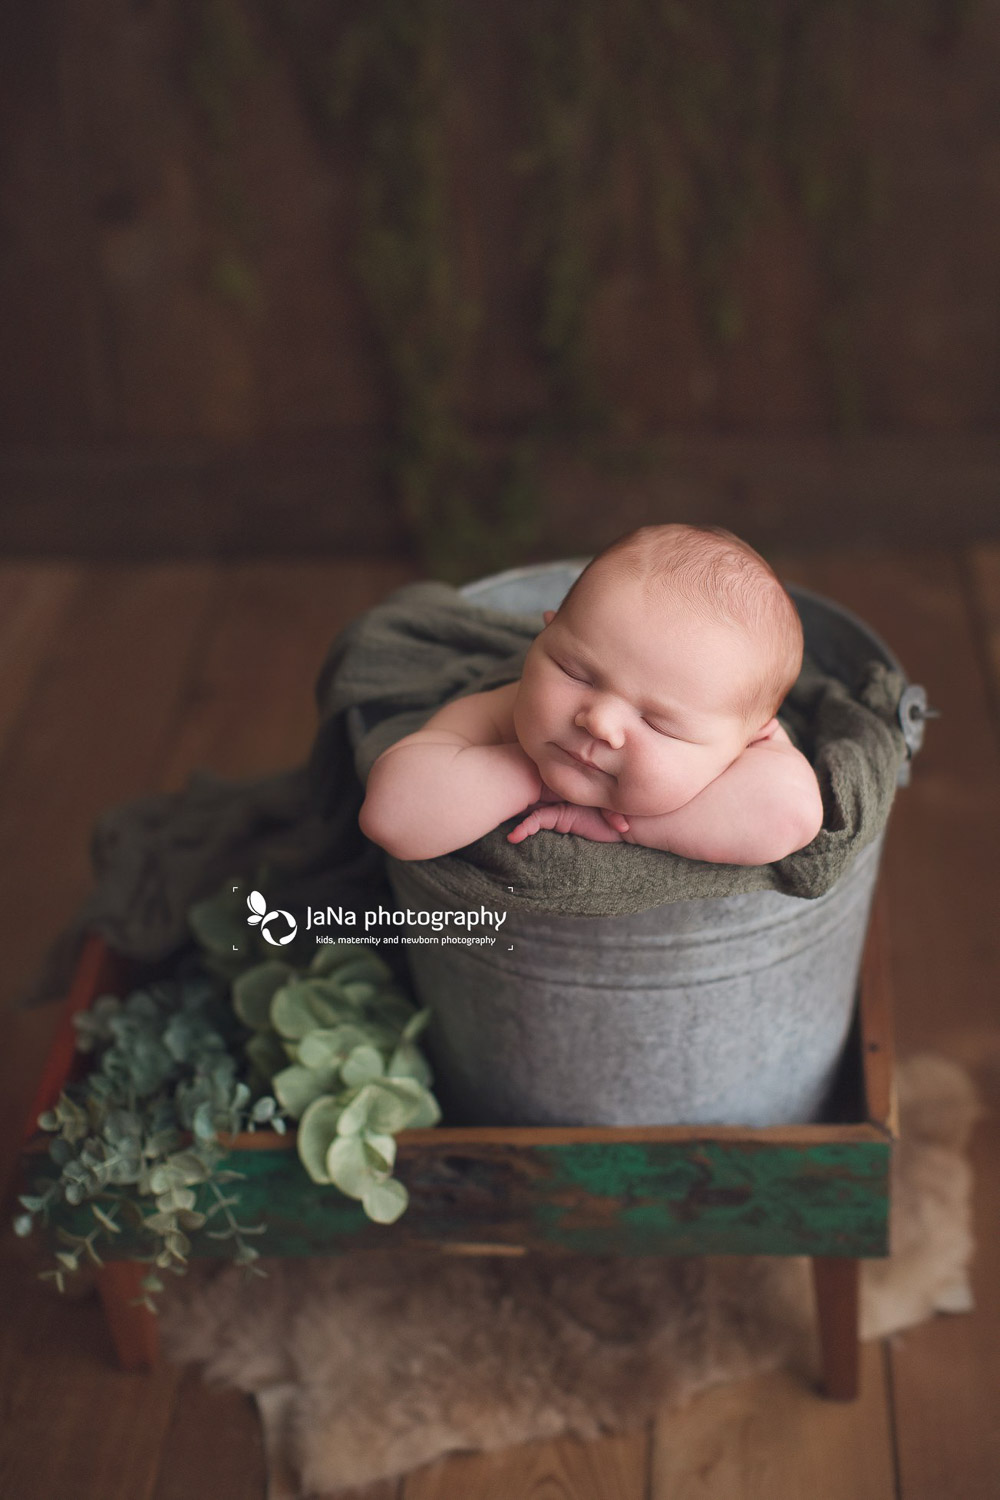
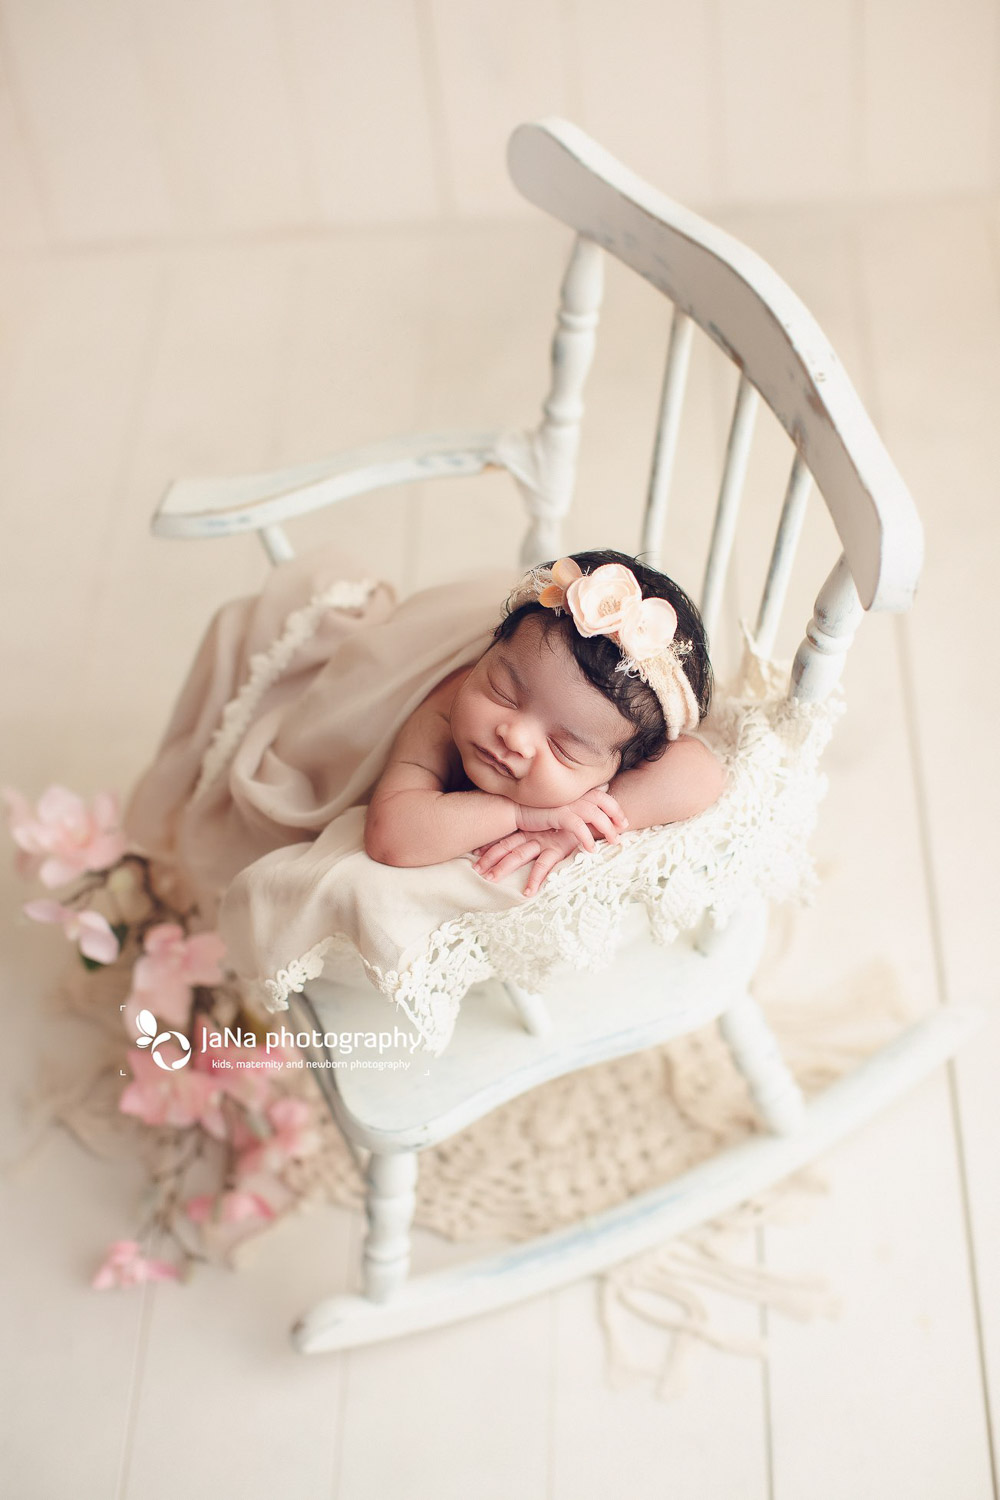
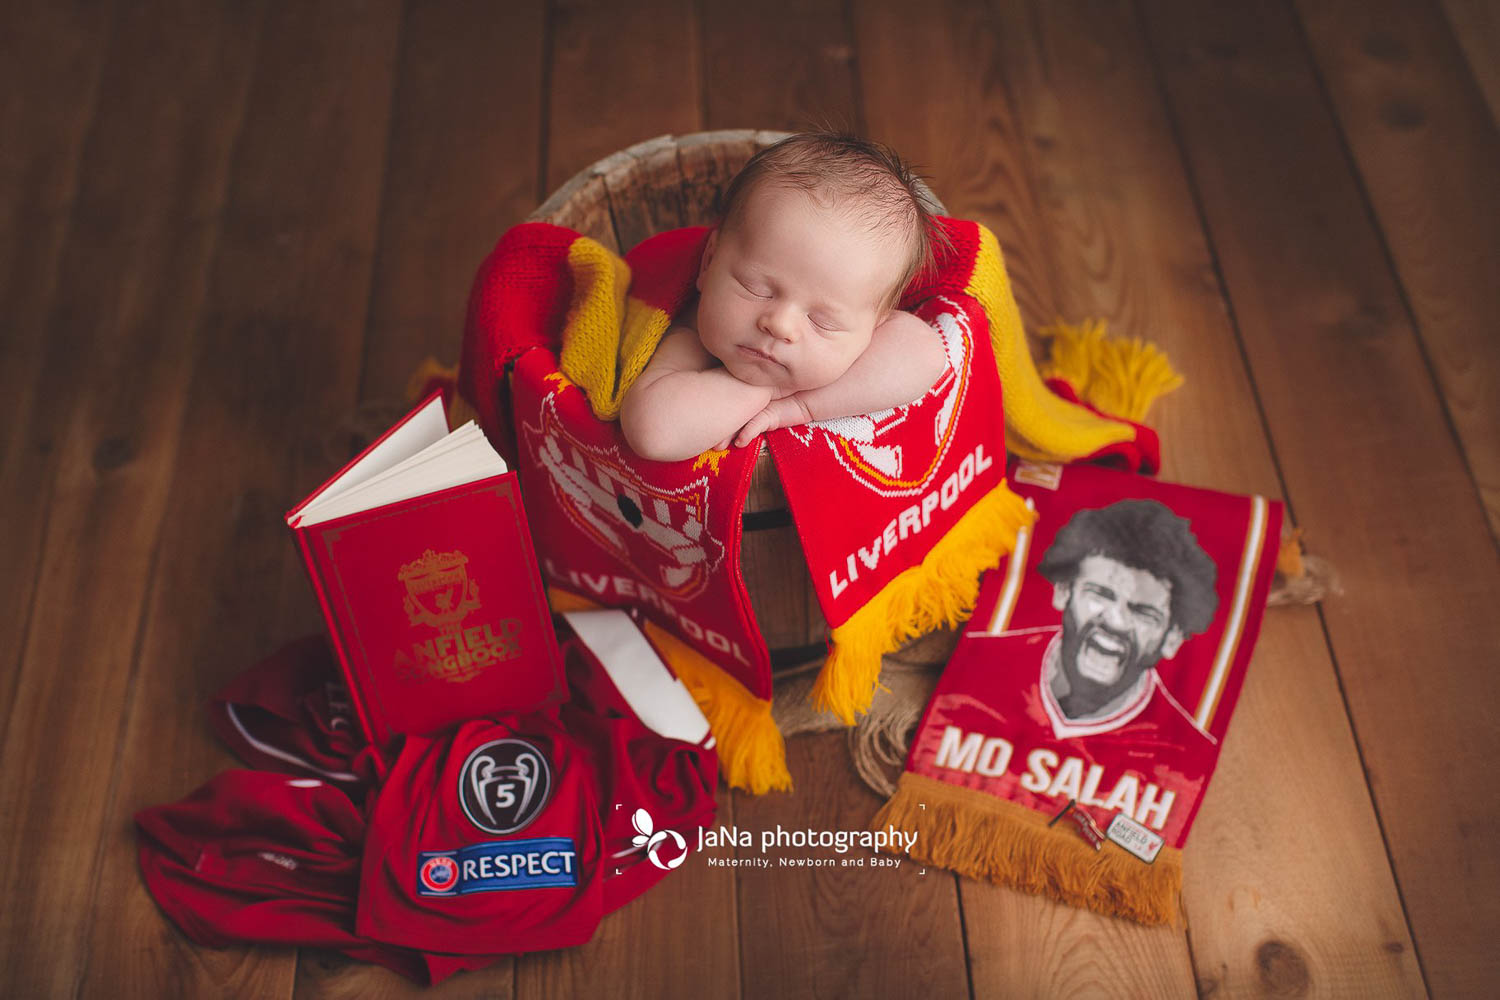
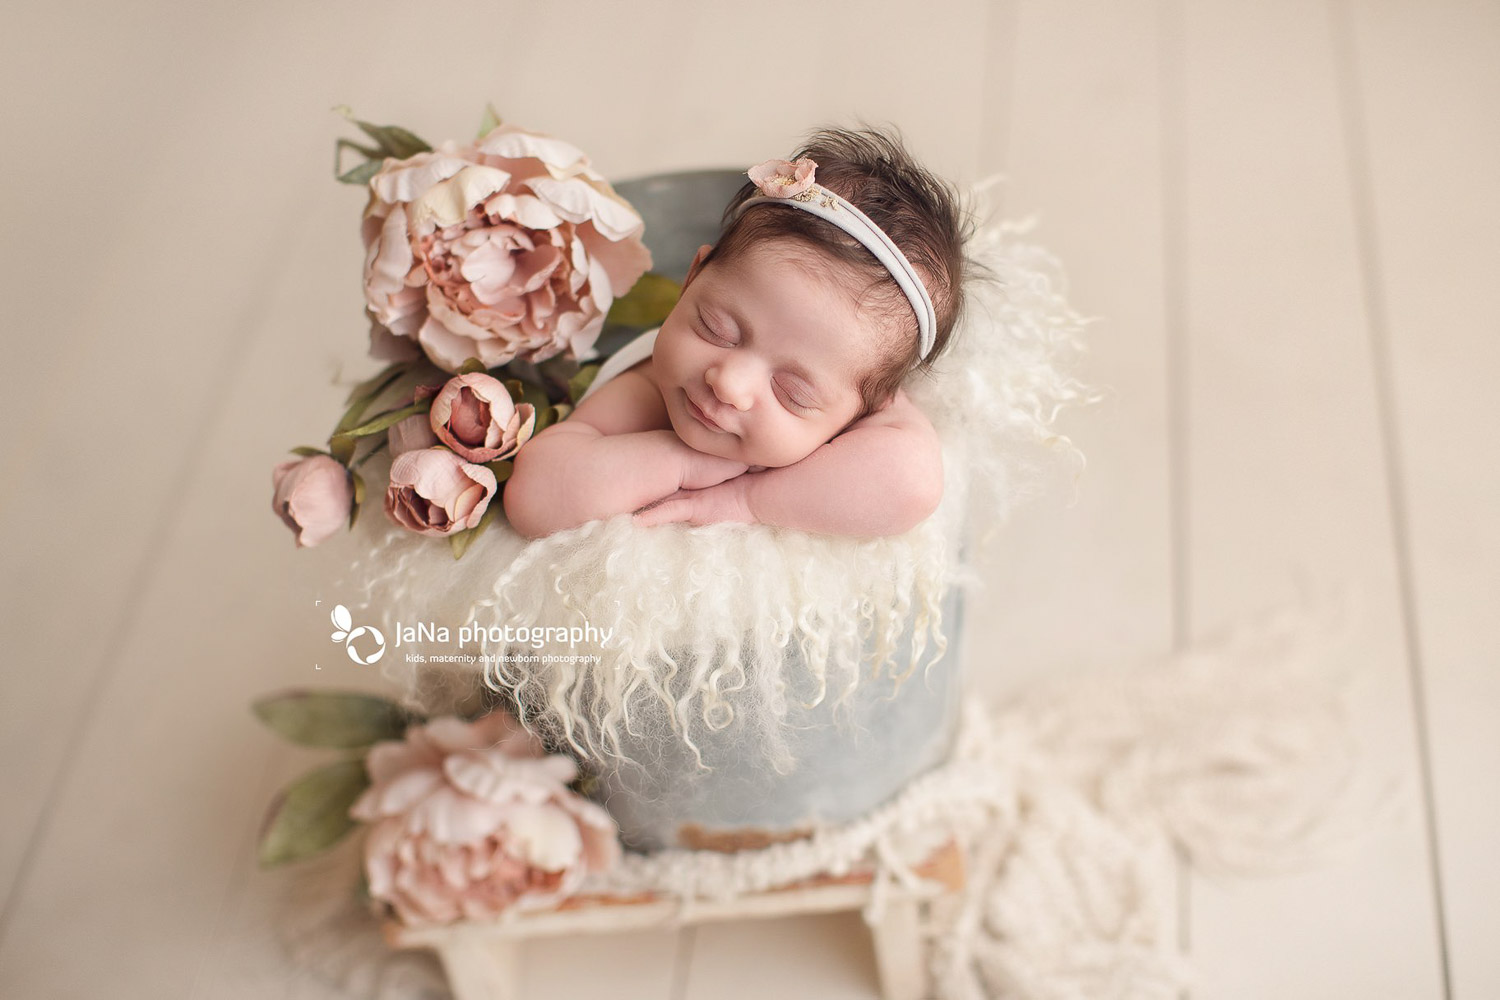
Always detail makes your picture gorgeous. When you are sure that you have your safe shot then start with detail to a perfect shot. Pay attention to the fingers pose and make sure babies face is relaxed and not frowned. Add some leaves or flowers and don’t forget the color coordination.
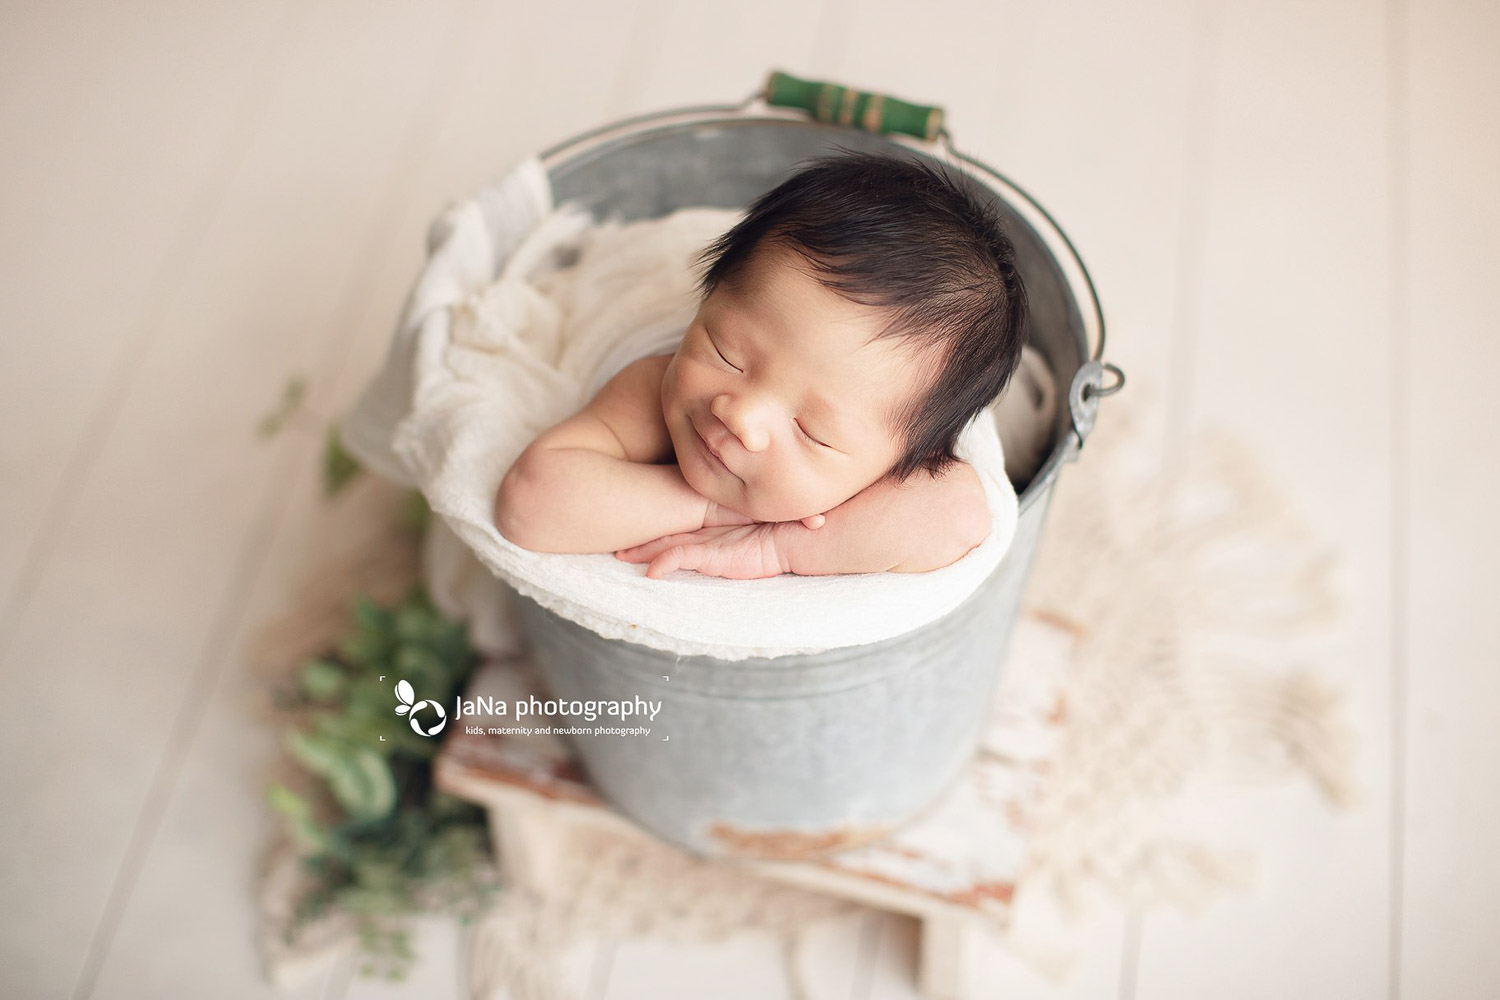
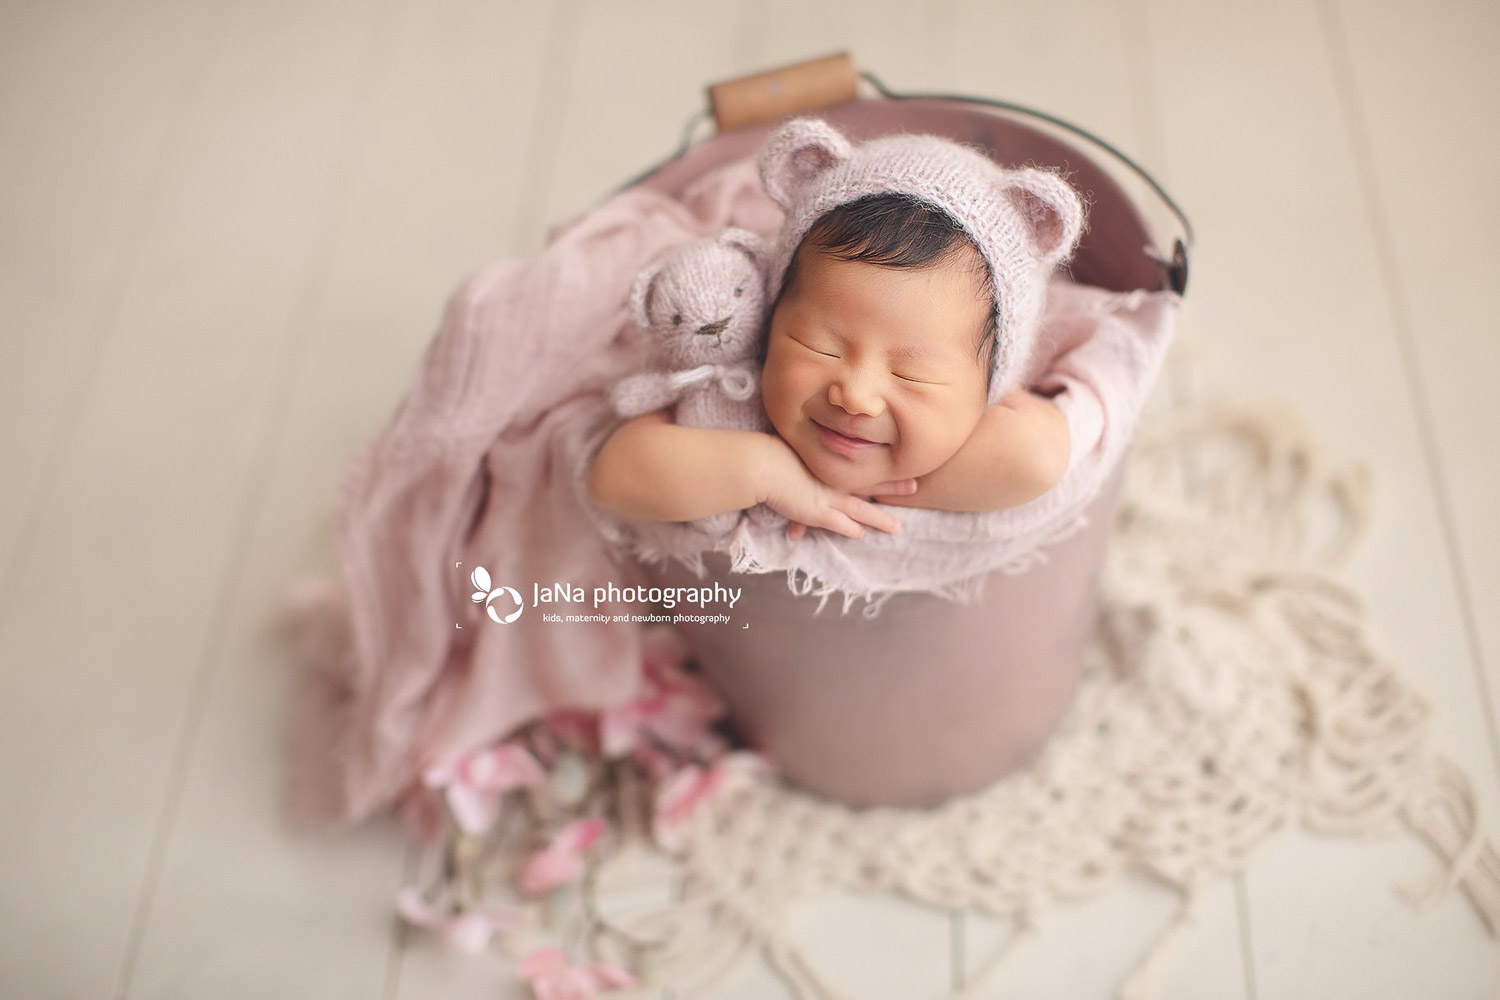
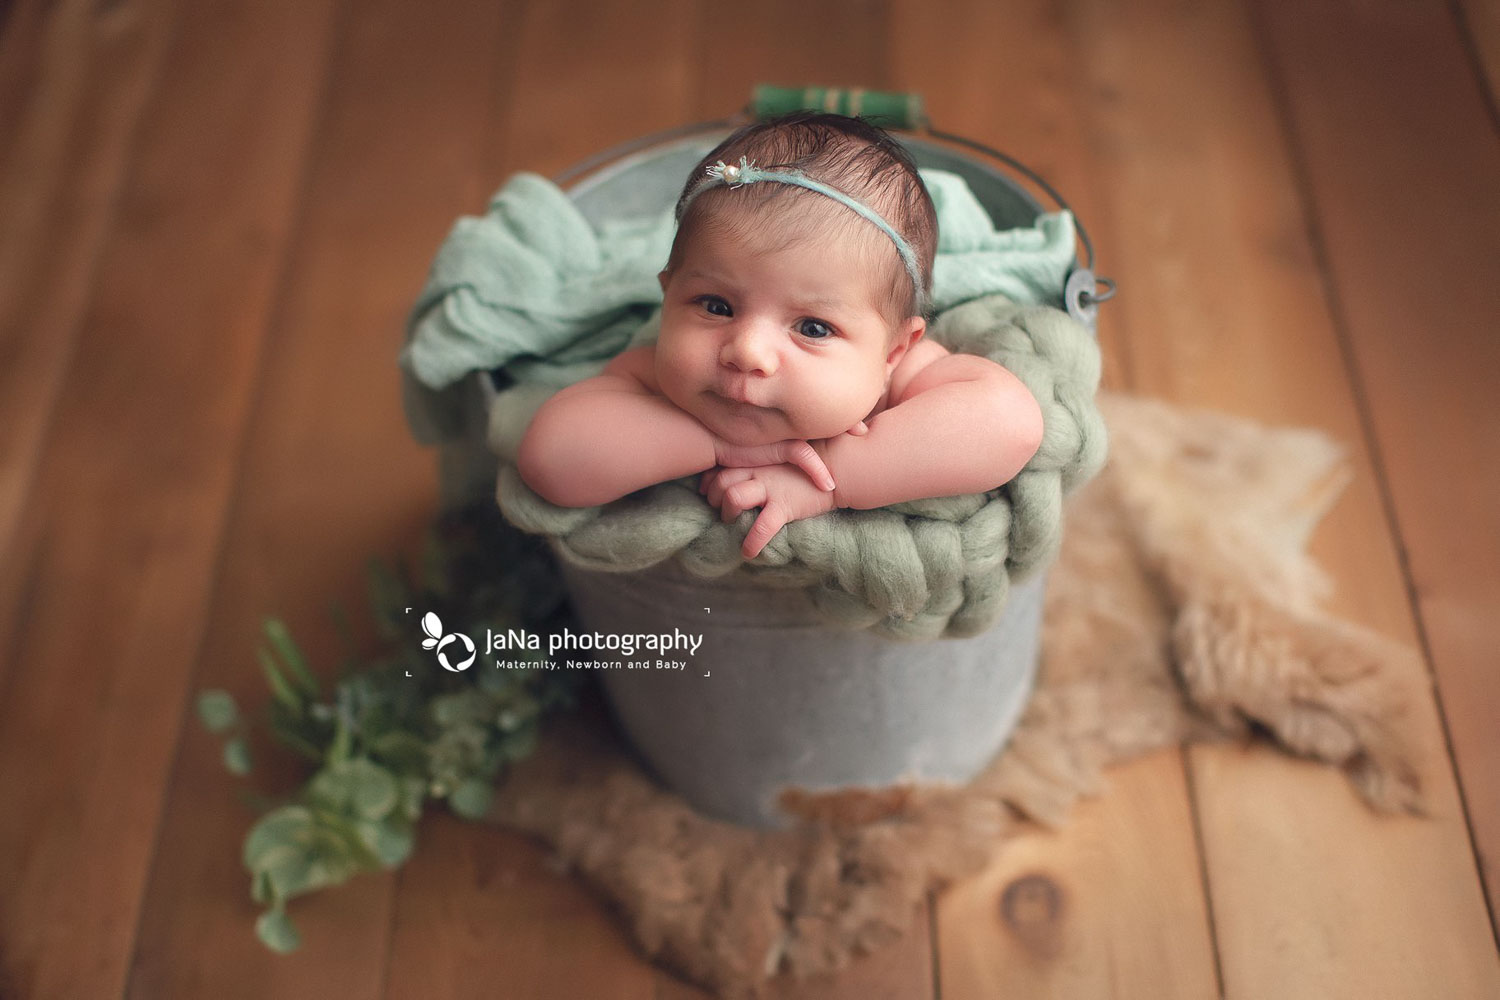
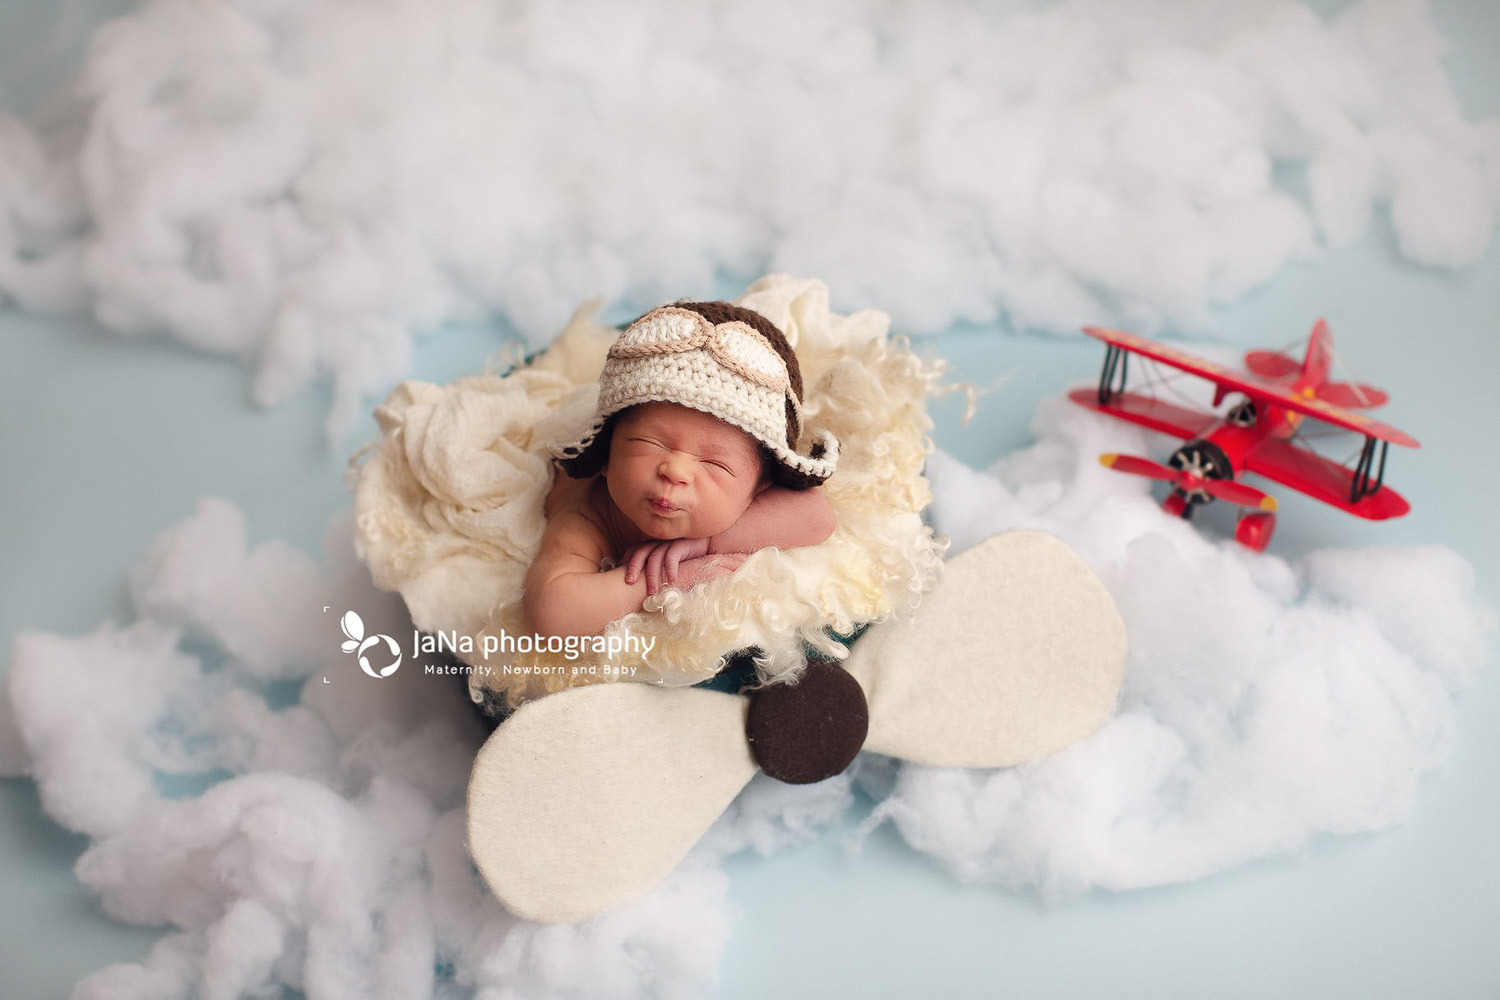
samples of our recent bucket poses with little newborn


در ماه ها و هفته های گذشته تعداد بسیاری ایمیل و پیام دریافت کردیم در زمینه نحوه صحیح قرار دادن نوزاد و آموزش اصول عکاسی از نوزاد وکودک.
به این منظور تصمیم گرفته ایم تا با ایجاد صفحات و ویدیوهای آموزشی تجربیات خود را در اختیار شما علاقمندان به عکاسی کودک ، نوزاد و بارداری قرار دهیم . کلیه ها این صفحات و فیلمها به صورت رایگان می باشد و توسط تیم عکاسی جانا تولید می گردد (مطالب تالیف بوده و نه ترجمه) . با نشر آنها در صفحات اجتماعی ضمن در دسترس قرار دادن مطالب برای دیگر علاقمندان ما را در تولید مطالب آموزشی بیشتر تشویق نمایید.
مبحث امروز نحوه قرار دادن نواز در سطل و یا سبد می باشد. در ضمن اینکه سلامتی کودک حفظ شود تصویری زیبا ، هنری و بیاد ماندنی نیز خلق کنیم.
نوزاد خواب کلید موفقیت
کمی صبور باشید تا نوزاد به خواب عمیق برود در این صورت نوزاد کمتر حرکت کرده و ایمنی بالاتر می رود . شاید چند دقیقه صبر تا خواب کامل, نهایتا دقیقه ها در نتیجه کار و صرفه جویی در زمان کمکتان باشد.
برای خواب بهتر یک بخاری کوچک و white noise بسیار کاربردی هستتد. البته بعد از قرار دادن نوازد داخل سبد ، کودک بیدار شد نگران نباشید با کمک چند عدد حوله از حرکت نوزاد جلوگیری کنید و اگر خوش شانس باشید شاید بتوانید عکس زیبایی از چشمان کودک در حالیکه داخل سطل قرار گرفته بگیرید .
داخل سطل از یک وزنه استفاده کنید
معمولا نوزاد روی لبه بیرونی سلط قرار میگیرد و برای اینکه تعادل سطل بهم نخورد معمولا از یک وزنه ۵ کیلویی داخل سبد استفاده می شود . قطعااگر قرار باشد از کودکان بزرگتر مثلا ۳ ماه عکاسی شود ، وزنه های بیشتر لازم دارید .
برای بالابردن سطح امنیت همیشه از دستیار و یا یکی از والدین بخواهید نزدیک به چیدمان بنشینند و دستشان را در پشت سر نوزاد قرار دهند تا در صورت تکان خورن ناگهانی به کودک آسیبی نرسد .
برای مراقبت از پوست کودک همیشه از یک شال کشی و هم رنگ چیدمان استفاده کنید . در این صورت ضمن پنهان کردن وزنه و بالشتکهای پوز ، از خراش پوست کودک جلوگیری می شود .
امنیت شرط اول عکاسی نوزاد
یکی از اصلی ترین نکات در عکاسی نوزاد حفظ امنیت و سلامتی کودک و نوزاد می باشد . اگه در این زمینه و این نوع چیدمان تازه کار هستید حتما با استفاده از فوتوشاپ سعی کنید عکس را کامل کنید . مخصوصا اگه قرار باشد کودک خوردسال دیگری کنار سطل و یا سبد بنشیند. ابتدا تصویر نوزاد داخل سبد را نهایی کنید و با حفظ همان زاویه و نور کودک خوردسال را کنار سبد بنشانید . می توانید با استفاده از شکلات و یا عروسک توجه کودک را به داخل سبد جلب کنید و در نهایت با قرار دادن این دو عکس کنار یکدیگر تصور نهایی را خلق کنید .
از قبل کودک را در دستان خود فرم دهید
من همیشه قبل از اینکه نوزاد را داخل سطل قرار دهیم، او را بر روی دستانم فرم داده و وقتی مطمئن شدم که نوزاد آماده است او را در کمال آرامش داخل سبد قرار می دهم .
از زاویه های مختلف عکاسی کنید
تقریبا برای به دست آوردن یه تصویر زیبا در حدود ۵ تا ۱۰ دقیقه و شاید بیشتر زمان برای فرم دهی نوزاد لازم دارید. بعد از آنکه مطمئن شدید عکس مورد نظر را ثبت کرده اید برای ایجاد تنوع با تغییر زاویه سعی کنید تا یک عکس جدید بگیرید. با استفاده از انواع کلاه و گل سر و یا برگ و گل در کنار سطل تنوع را بیشتر کنید . حتی با تغییر فرم دست کودک می توانید یک تصویر بیادماندنی خلق کنید .
به جزئیات توجه کنید
حال زمان آن رسیده که یکبار دیگر و قبل از خارج کردن کودک از سطل جزئیات را بررسی کنید. نحوه قرار گرفتن انگشتان، زاویه سر ، میزان و زاویه نور ، عمق میدان و سرعت شاتر و …
در صورت اطمینان نوزاد را با آرامش خارج کنید . سایز سطل را با توجه به اندازه کودک انتخاب تا بتوانید در انتها به راحتی و بدن مشکل کودک را خارج کنید .
امیدواریم که مطلب بالا مورد توجه بوده و در زمینه عکاسی نوزاد کمکتان باشد.
لطفا با به اشتراک گزاشتن صفحه وب سایت، ما را در ادامه این کار یاری کنید
More from our blogs

Tips for Parents on Including Siblings in Newborn Photography
first of all Tips for Parents on Including Siblings in Newborn Photography Sessions and Choosing the Best Photographer in Vancouver Welcoming a new baby into the family is a special occasion that deserves to be captured in timeless photographs. In this blog, we'll...
Capturing the Essence at Jana Photography
The arrival of a newborn is an extraordinary moment in the life of any family, and at Jana Photography, we consider it a privilege by capturing the essence of these precious early days. Recently, we had the pleasure of photographing a darling three-day-old newborn,...

5 Props That I Use In Every Newborn photography Session
This blog is about 5 Props That I Use In Every Newborn photography Session. As a seasoned newborn photographer, I've found that the right props can transform a session, turning it into a timeless collection of memories. In this blog post, let's delve into five...
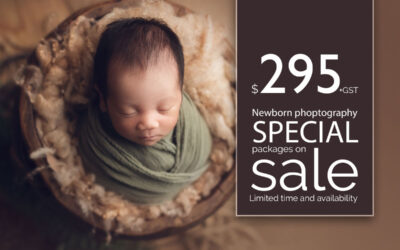
newborn photography special package
Newborn photography special package and also Exciting News!We've just moved to our new commercial/retail store at 2465 Kingsway, Vancouver, and to celebrate, we're thrilled to introduce a special and affordable newborn photography package. photographer: MahtaPackage...
Capturing Precious Moments: The Best Newborn Photographer in Vancouver
andGreat news! Jana Photography is chosen again as one of the best newborn photographer in Vancouver, BC!Welcome to our newborn photography blog! We're excited to capture precious moments in Vancouver, Burnaby, and Surrey. Big news – our new spot is at 2465 Kingsway,...
Maternity and newborn photography experience in JaNa | Vancouver
I discovered JaNa through their incredibly beautiful Instagram account with stunning photos, and we did both our maternity and newborn sessions with Nasim and Jafar. My husband offered me a Solo Glam maternity session, and it was the best photography experience I ever...
Let us know if you are interested to learn more about maternity photography, baby photography or newborn photography.
Check our Video page to see more backstage and behind the scene.
Send us your comment at the very end of this post and ask what you want to learn and we will do our best to make a tutorial post and video.
Jana Photography offers fine art photography for newborns and babies and serves clients from all Metro Vancouver area. Based in Vancouver, we have clients coming all the way from North Vancouver, Burnaby, Surrey, New Westminster, Coquitlam, Richmond, and Langley.
Contact
Phone
604-724-0531
About us
We are an Award-winning studio. Specializing in baby, Maternity and newborn photography. Serving Vancouver, Burnaby, New Westminster, Richmond, Coquitlam, Port Coquitlam, Port Moody, Surrey, Langley, Delta, Maple Ridge, White Rock, Fraser Valley area, North Vancouver, West Vancouver, downtown Vancouver, Lions Bay, Squamish, and Whistler.